How to connect to Exchange Online using PowerShell
Here you will find out:
- what PowerShell is
- how to connect to Exchange Online using PowerShell
- how to protect your personal and working documents and emails
Are you ready? Let's read!
About PowerShell
PowerShell is a command-line utility that allows system admins to make bulk changes with a few simple commands. Also, PowerShell can be used to access and carry out actions on Microsoft Exchange Online (part of the Office 365 package).
However, the standard PowerShell utility cannot connect with cloud servers. Hence, you’ll need to install Remote PowerShell to fully access Exchange Online servers. Here, in this article, you’ll learn about the detailed steps you could take to set up PowerShell for Exchange Online.
What you need to connect to Exchange Online PowerShell
To connect PowerShell with/to a Microsoft Exchange Online server, some requirements must be met.
First, PowerShell must be active on your Windows computer.
Second, you need to install .NET Framework 4.5 or any of the newer versions. Also, you may need to install Windows Management Framework 3.0, 4.0, or 5.1. Most importantly, you need to have a stable internet connection during setup.
Furthermore, you must connect with TCP port 80 to the destination host. Access to Exchange Online PowerShell must be enabled for the user profile being used.
Connect to Exchange Online using PowerShell
If PowerShell is active on your Windows computer, follow the steps below:
- Click the Search icon/bar and type “PowerShell”.
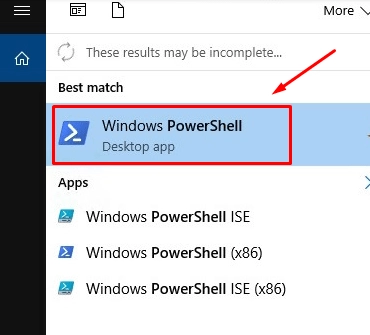
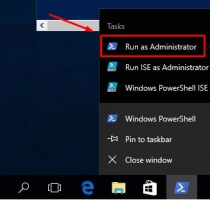
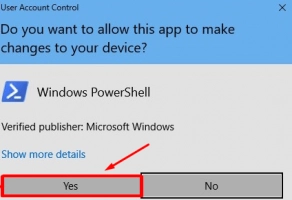
- Right-click on “Windows PowerShell” and select “Run as Administrator”.
- Paste or type the following command into PowerShell:

- Hit the Enter key
- Type “Y” – this means “Yes”.
- Again, copy and paste or type in this command into PowerShell:

- At this point, you will need to enter the username and password of your Office 365 account. After signing in, you should enter these commands one after another.


- If the steps are followed properly, you should be logged in to Microsoft Exchange Online using PowerShell.
To validate your connection, run this command to obtain your meeting rooms:

If the last command displayed your meeting room resources, then you’re done.
How to recover MS Office files
Did your MS Office files get lost? There’s a way to recover the files, irrespective of the format. DiskInternals Office Recovery is a professional data recovery software tool with support for virtually all Windows files systems, including FAT, NTFS, exFAT, Ext2/3/4, ReFS, UFS, and more.
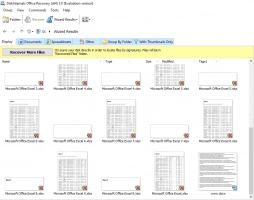
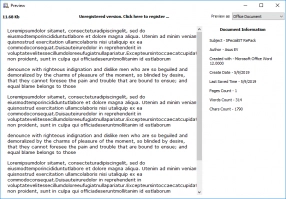
This software performs a deep scan to dig out all files that were previously saved in a selected hard drive or storage device. Also, DiskInternals Office Recovery features a couple of filtering options to allow you to find the files you wish to recover.
Furthermore, DiskInternals Office Recovery recovers your lost MS office files in four (4) simple steps. Plus, it allows you to save a scan result, so if you couldn’t restore all the files at once, you can come back and restore them without having to run another re-scan.
DiskInternals Office Recovery is free to download and available for all Windows versions.

