Office 365 settings: SMTP, POP3 and IMAP configurations
Here you will find out:
- different Office email settings
- how to configure Exchange Online
- how to protect your personal and working documents and emails
Are you ready? Let's read!
Office 365: a new cloud solution

Microsoft Office 365 is a new cloud solution that offers access to your applications from multiple locations and devices. One of the most important and popular Office 365 services is Exchange Online, through which administrators can create accounts and allow specific users to send and receive email messages using Exchange Online servers. Users can view emails in a web browser or use email clients. In order to make full use of the email client for Exchange Online services, you need to configure the Office 365 SMTP, POP3, IMAP settings. You can learn how to do it correctly and quickly in this article.
Office email settings: a brief overview
The main Office 365 mail settings include the following:
- SMTP (Simple Mail Transfer Protocol): required to send emails. The client opens a TCP connection to the SMTP server, which always listens on the corresponding TCP port. Usually, there is a limit to sending more than 10,000 emails per day and 30 messages per minute. By experience, this will be enough to work effectively, but if you need more emails, you will need to use SMTP Relay.
- POP3 (Post Office Protocol 3): required to receive emails. This protocol is convenient if you use one computer to send and receive email.
- IMAP (Internet Message Access Protocol): also required to receive emails. It can be used when you need to use email clients on different computers. In this case, email messages are stored on the mail server and are not deleted when the user receives the emails.
How to configure Exchange Online
How to set up Microsoft Office 2016 Outlook
Here, we will look at how to set up Microsoft Office Outlook 2016 with the Office 365 SMTP settings.
First, open Microsoft Office Outlook and select the File tab on the taskbar. Select "Account Settings" from the list, then click “New” and start setting up a new account (the Account Setup Wizard will help with this):
1. Select POP or IMAP and click Next.
2. Enter the required user information, for example:
- Username: John Carter
- Email Address: JohnCarter@microsoft.com (it must match your Office 365 account name)
- Account Type: IMAP
- Incoming mail server: outlook.office365.com
- Outgoing mail server (SMTP): smtp.office365.com
2. To log in, enter:
- Username: Enter your email address
- Password: Enter the password that is the same as the Microsoft Admin Center password
Then click on the "Advanced settings" button and go to the “Outgoing mail server” tab. Activating the My Outgoing Mail Server (SMTP) requires an authentication function. Then click on “Use the same settings as my incoming mail server”.
Next, go to the "Advanced" tab. Set server port numbers and encryption here.
Click on the “Check Account Settings” tab. If everything went well, the SMTP and IMAP settings in Office 365 will be configured correctly. Click Close and Finish.
That's all. The account is ready to use; you can send and receive emails using the email client.
Configuring Microsoft Outlook Express
You can also configure Outlook Express to work with Microsoft Exchange Online. This is a fairly convenient and simple option for sending and receiving messages. Here's how to create and set up a new account and use the Office 365 SMTP settings:
- Open Outlook Express and select the Tools tab. Next, click on "Accounts" and in a new window you will see the Wizard, which will assist you when creating a new account.
- Enter your account name, email address, mail server names (select IMAP as the incoming mail server, then enter the server addresses), full account name and password to use Office 365 services (select the “Remember password” checkbox).
- Then configure additional parameters. To do this, in the "Properties" window, select the "Servers" tab and check the SMTP and IMAP settings. Activate the "My server requires authentication" function, click on "Settings", and click on "Use the same settings as my incoming mail server".
- Establish a secure connection: set port 587 as Office 365 SMTP server options and port 993 as incoming mail (IMAP) options. Then save the changes, click Finish and thus complete the account creation.
Protect your personal and working documents and emails. Use Office Recovery!
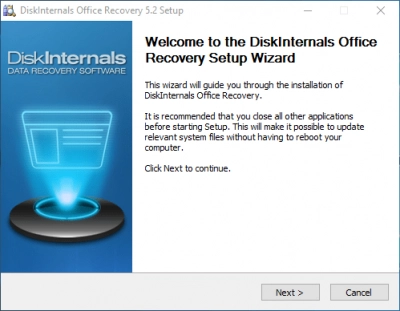
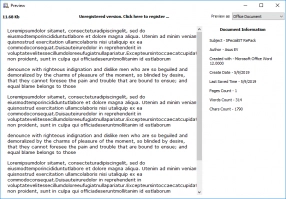
DiskInternals Office Recovery is a professional application that recovers lost or damaged files and folders from Microsoft Office, Outlook, Access, OpenOffice, or LibreOffice. This program is universal, as it supports the file systems NTFS, FAT, exFAT, ReFS, Ext2 / 3/4, UFS, HFS, ReiserFS, Reiser4, XFS, and RomFS (read-only). It also provides a preview of files that were found and can be recovered. This feature is free; thanks to it, there are no problems or surprises when purchasing DiskInternals Office Recovery.

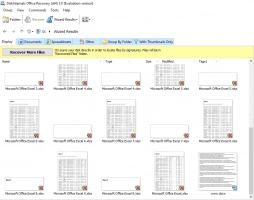
In addition, if you are an inexperienced user, you can use the services of the Recovery Wizard and trust its recommendations to improve the recovery results. The program to find lost/damaged documents uses a set of signatures typical for Office file types. All disk scan results are compared with the information contained in the file system. Then you are presented with a complete list of all Microsoft Office documents that are on disk that can still be recovered.


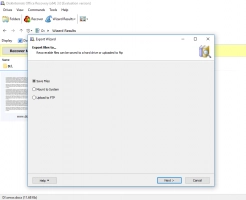
Using filters, you can select a specific type of file that you want to recover, then sort results by date, name, etc. This makes it much easier to find what you need. After that, simply buy a license and automatically export data to your preferred storage device. Then you can enjoy the amazing results!
