Errors have been detected in Outlook file? You can fix it!
Here you will find out:
- why the error has been detected in the .ost file in Outlook
- how you can fix it
- how DiskInternals Outlook Recovery can help you
Are you ready? Let's read!
About “errors have been detected in the Outlook file” issue
Despite the fact that the Outlook 2010 application and the OST files that it uses are quite reliable and trouble-free, you might yet see a message on the monitor like this:

Undoubtedly, this is an unpleasant situation, but you should definitely try to solve it.
After all, not everything is unreliable.
Reasons for the error
Most often, the message "error has been detected in the Outlook file" is because a virus has attacked the computer, or rather the application, and will damage important system files. It can also be due to a power failure while data is being synchronized.
Sometimes you may experience a system failure or damage to the file system, registry, etc. The reasons may be many, but this article should still show you the right way out of the situation.
And here are three popular approaches; any of them is a good one, but it all depends on various factors that have been taken into account here.
1. If errors have been detected in the Outlook 2007 file
If an error occurs in Outlook 2007, then you can use Scanost.exe. Later versions of Outlook, however, cannot be fixed this way.
If you are using a later version, skip this step and read the next paragraph.
2. Delete and recreate the problematic OST file
Go to the folder using the link %localappdata%\Microsoft\Outlook. Now find the problematic OST file here, right-click on it, and select Delete.
3. If you can't recreate the OST file, restore it.
DiskInternals Outlook Recovery will do this better than any other application. You can quickly and efficiently repair damaged OST or PST databases, including the Deleted Items folder, contacts, attachments, tasks, and calendars. If you have any doubts about this software, try the free full-featured version of the program and you will have no doubts about what data recovery software to choose.
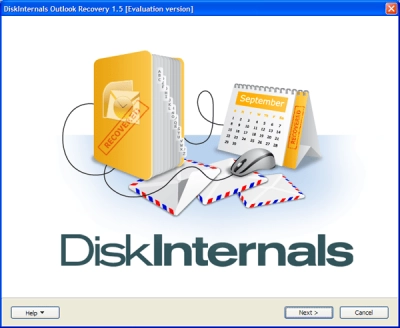
Now follow these instructions:
- 1. After the program is installed, click on the Wizard icon.
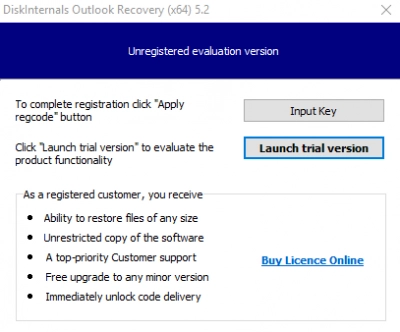
- 2. Next, select exactly what you want to restore:
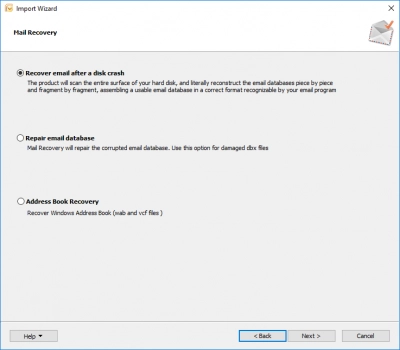
- database
- address book
- 3. Next, select the drive that you want to scan (that is, the drive where all Outlook data was located). Then click the Scan button.
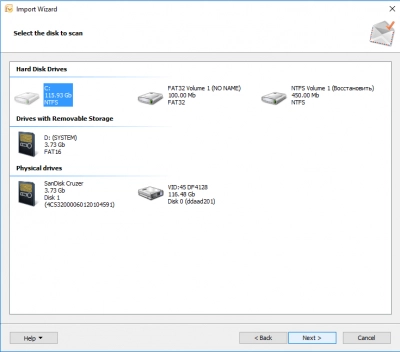
- 4. Next, do a free preview (via the right mouse button) of the data found. This feature is very relevant and useful. You look at the file and before paying any money, make sure that everything suits you and no one is trying to fool you.
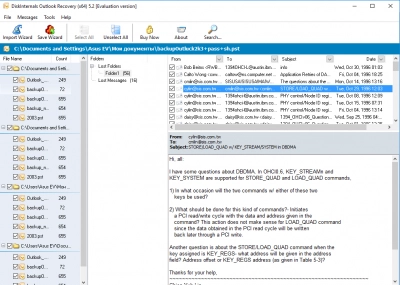
- 5. Saving. Just buy a license and click on the Save button. DiskInternals wishes you good luck in the future; be careful!