Outlook is not connecting to the server? Fix it now!

In this article you will find out:
- how to deal with this issue
- how to protect your data
Are you ready? Let's read!
Examine connection to server
- If Outlook cannot connect to the server, you need to check if the account credentials and exchange server name are correct.
- Also, you need to make sure Outlook is online. To do this, open Outlook, go to the Send / Receive tab, and reconnect the "Work Offline" option.
- If your computer is not connected to the network, you will definitely receive the error "Outlook is not connecting to the server." Therefore, try checking your network connection. Connect another computer or laptop to the same network and check the Internet connection. Better yet, try opening Outlook on a different device and see if the “Outlook cannot connect to server” error occurs. If you are unable to connect another device, log into your browser, try going to any website.
- Also, check the connection to the Microsoft Exchange Server. To do this, open Outlook. Then go to the File tab, select Information, then click on Account and Social Settings and open the Account Settings tab. Notice the indicator next to the Exchange account. If it doesn't work, fix the connection to Microsoft Exchange Server. Then restart Outlook and check if the error is fixed.
- Try using SSL to connect to Microsoft Exchange Server. In the Outlook app, go to File, go to Information, open Account and Social Settings. In Account Settings, select your email account, click Change, then click Advanced Settings. On the Advanced tab, go to the Outgoing Mail Server section and select SSL as the encrypted connection. Save your changes and check if the bug causing Outlook to be unable to connect to the server has been fixed.
- Try setting up a connection to a proxy server: open Outlook, then go to File, then click on Information-> Account and Social Network Settings-> Account Settings. Open your email account and click Change, then click Advanced Settings and select Connect to Microsoft Exchange using HTTP. In the Exchange Proxy Settings section, specify the proxy server, enter the URL to connect to the proxy server. Then select the following options: Connect using SSL only, connect only to proxy servers that have this primary name in their certificate. After that enter msstd: URL, select Basic Authentication under Proxy Authentication Settings. Then restart Outlook and check if the error that causes Outlook to be unable to connect to the server is resolved.
Work with app
You can try to recover your Outlook account using the application itself. To do this, open Outlook, on the taskbar, select the File tab, go to Information, then select Account and Social Network Settings. Then in the Account Settings section, select your account and click the "Restore" button. Now you just have to wait for the program's automatic repair to complete and restart Outlook.
If the issue that causes Outlook to not connect to the server still persists, you need to disable the extensions.
In Outlook, click File, then select Option, and then the Add-in option. Click the Go button, uncheck all the extensions and click OK, restart Outlook and check if Outlook is working properly.
Alternatively, you can also rebuild the Outlook data file if none of the previous methods worked for you.
So, in the Outlook app, select Account Settings and click on Data File. Select the email account that is encountering the Outlook error, then click Open File Location and rename the file / move the file to a different location.
Save changes, restart Outlook and check if the error is fixed.
In the end, just reinstall Outlook, then the connection to the server will be restored for sure.
Make sure your mailing is safe!
DiskInternals Outlook Recovery is a professional application that will help you recover any Microsoft Outlook file.
This application does not require anything supernatural from you or any additional knowledge and education, just a little of your time and attention. After you download and open DiskInternals Outlook Recovery, the recovery wizard will activate and follow you from the beginning to the end of the data recovery process. This feature is available in both paid (licensed) and free (trial) software.

It is also recommended to view the found data for free before exporting, as the company cares about its customers and its reputation.
Let's recover emails and other Outlook data with this unique app:
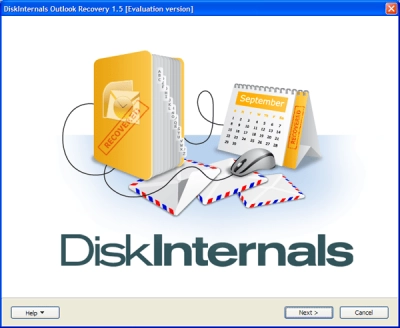
After downloading and opening DiskInternals Outlook Recovery, you will see a welcome window with a wizard icon. If it does not activate on its own, left-click on it and select one of the three recovery modes:
- return mail base
- return mail after disk failure
- return address book
Next, select the option of full or quick (superficial) disk check. For your convenience, select the full option, although it will take longer.
After that, you will see unbeatable results on the monitor screen, which are definitely worth looking at before exporting. By the way, after previewing, Outlook data is automatically recovered.
The last point is to export the recovered information to another disk (this is possible only after purchasing a license on the website online). Once this is done, you will receive a unique license key, and a reliable export wizard will help you keep your mail in a safe place.
Enjoy! Now a reliable assistant in the form of DiskInternals Outlook Recovery will always be there and you no longer need to be afraid in case of Outlook data loss.