What should you do if Advapi32.dll not found error occurs?

In this article you will find out:
- what should you know about this error
- 3 tips on how to deal with this issue
- how to protect your data
Are you ready? Let's read!
What should you know about the "ADVAPI32.dll not found" error
Generally, the ADVAPI32.dll file is a system file in Microsoft Windows that provides advanced API functions related to the registry, applications, services, and user accounts. When there is something wrong with this file (it is missing or corrupted) the user cannot boot the system properly. As a result, you will receive an error message: "ADVAPI32.dll not found".
The causes of this problem are diverse but do not differ from the possible causes of damage to other system files. That is, it can be virus attacks, improper shutdown of the computer, power surges, disk write errors, etc.
Here are the most appropriate and effective ways to fix the "advapi32.dll not found" error
1. Replace the damaged file
Try to restore the original advapi32.dll file if you have a Windows installation disk. Reboot using the installation CD and when you see the message “Press any key to boot from CD”, press any key.
To start the recovery console, press R, then enter the administrator password, and then press the Enter key to confirm your action.
At the Command Prompt, enter:
expand E: \ i386 \ advapi32.dl_ C: \ Windows \ system32 \
where E: \ is your drive letter and C: \ is your Windows drive letter.
Next, you will be prompted to overwrite the file; press Y and then press Enter.
Restart your computer and you'll soon forget about this problem.
2. SFC
SFC (System File Checker) is a well-known tool for automatically scanning system files and fixing them if possible.
Since the system cannot be started normally, you will have to boot from the Windows installation disk.
Open the section "Repair your computer", select your Windows installation disk, usually C: \, and click Next.
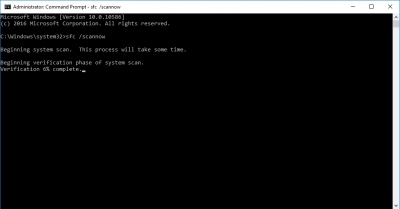
In the System Restore Options window, select Command Prompt and enter:
sfc / scannow / offbootdir = E: \ / offwindir = D: \ Windows \
where: E: is the letter of the drive where Windows is installed and E: \ Windows is the location of the Windows folder.
Then press Enter, wait until the check is complete and restart the computer in the usual way to check if the “advapi32 dll missing” error has disappeared.
3. Use CHKDSK (carefully)
Again, boot from the Windows installation disk and click "Repair your computer" after selecting the language, time, and keyboard input.
Open Command Prompt when the System Restore Options window appears and type the following command: chkdsk E: / f and then press Enter.
Replace E: with the letter of the Windows drive.
CHKDSK also does an excellent job of dealing with system file errors but has a detrimental effect on the saved data on your computer.
Almost all methods to fix advapi32.dll errors can lead to corruption or even complete loss of all data!
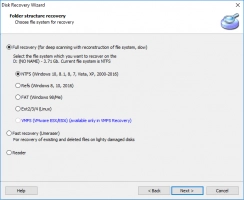
Therefore, it is strongly recommended that you first restore all information and make a backup copy of the data, and only then deal with system errors. DiskInternals Partition Recovery is your best choice for these purposes. In addition, you can create a disk image for free as a "safety cushion" for you in case of unsuccessful attempts to correct errors. In order to use this software, you just need to download it, and one of the three Recovery Wizards will do the rest for you. DiskInternals Partition Recovery deeply scans each disk partition, and if your file system is unreadable, the program will automatically transform it and get as much information as possible.
Download and install the free or paid version of DiskInternals Partition Recovery.
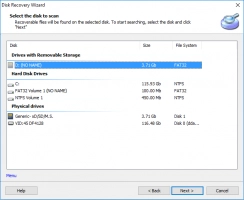
The Recovery Wizard will start automatically and ask you to select the hard disk partition or disk that you want to recover, as well as basic parameters for finding data (such as the format of files to search).
The scanning process will begin; be sure to wait for the process to complete.
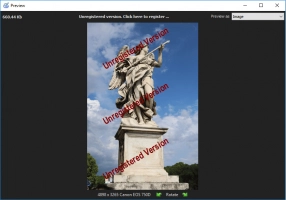
You can view all the found files for free by right-clicking on the file and selecting “Preview in a new window”, after which the found data will be restored automatically.
To fully export the recovered files, you just need to buy a license and enter the license key. Good luck!

