Find out how to clean up WinSXS folder safely!
In this article you will find out:
- how to clean up the folder
- how to access Window Features
- how to protect your data
Are you ready? Let's read!
The WinSXS folder is a system folder that contains all of the Windows components and grows enormous over time. For example, when installing Windows updates, it removes the new Windows component in the WinSXS folder and saves the old component in the WinSXS folder. That is, every time you update Windows, your WinSXS folder grows in size. This function can be useful in case of an incorrect update, but in reality, it is rarely used and generally takes up a lot of free space.
Here go the methods for Windows 7 and 8 for clean-up WinSXS folder.
Windows 7
To clean up these update files in Windows 7, open the Disk Cleanup Wizard. This can be done as follows: in the start menu in the search bar, type "disk cleanup" and press Enter.
Next, you need to click on the "Clean up system files" button and activate the "Clean up Windows Update" option and then click "OK". If you've been using Windows 7 for a long time, you can probably free up several gigabytes of space!
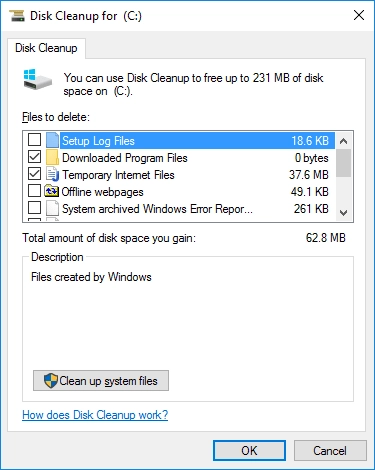
After restarting Windows 7, it will take a few minutes to clean up the system files before you can log in and use your desktop.
Windows 8.1
Windows 8 and 8.1 clean up winsxs automatically. That is, Windows has a scheduled StartComponentCleanup task that automatically runs in the background and cleans up components after a certain time after they are installed. Usually, this is a 30-day period, during which time you will know for sure whether to uninstall the last update or not.
You can also manually clean updates using the "Clean up Windows Update" option in the "Disk Usage" window, just like in Windows 7.
Windows 8.1 allows you to force the removal of all previous versions of uninstalled components, even those that have not been used for more than 30 days, using the command line with privileged rights.
The following command will remove all previous versions of the components without the 30-day grace period for the scheduled task:
DISM.exe / online / Cleanup-Image / StartComponentCleanup
The following command will remove files required to remove service packs: The following command will remove files required to remove service packs:
DISM.exe / online / Cleanup-Image / SPSuperseded. After running this command, you will not be able to remove any currently installed service packs.
The following command will remove all old versions of each component:
DISM.exe / online / Cleanup-Image / StartComponentCleanup / ResetBase
Use Control Panel to access Windows Features
Newer versions of Windows allow you to enable or disable various Windows features on-demand (a list of these features can be found in the Control Panel in the Windows Features window). However, these features take up space, so users often want to turn them off.
In Windows 8, this problem is solved - it's a new option that allows you to completely remove these unidentified components of WinSXS folders, freeing up space. To do this, open a Command Prompt window as administrator and use the following command to see the functions available to you:
DISM.exe / Online / English / Get-Features / Format: table
Then decide which component you want to remove and enter the following command:
DISM.exe / Online / Disable-Feature / featurename: NAMES / Remove
Note: NAMES is the name of the feature you want to remove.
If you run the / Get-Features command again, you will see that the feature you removed has a status of Disabled with Payload Removed. This suggests that it does not take up space on your computer's hard drive.
What if data is lost?
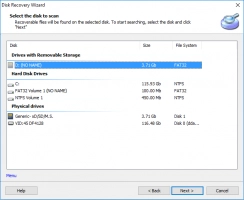
The WinSXS folder contains the files required for legacy updates to work. Deleting files from it can damage other files and affect the operation of the entire operating system. To prevent data loss, use DiskInternals Partition Recovery.
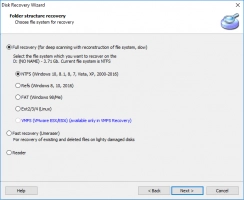
If you want to recover this folder or other deleted files and subsequently export this data, just use the full recovery mode and forget about this problem forever. DiskInternals Partition Recovery is also a great way to open files as a file explorer in reader mode; this free feature helps you view the contents of a folder and files.
You can also activate the free disk imaging function before deleting the WinSXS folder and no longer be afraid to experiment. DiskInternals Partition Recovery is a professional application with thousands of positive results and experience in data recovery of any type and size for over 15 years.
Download it, and you will see how succinctly it is designed with many basic and advanced features, and most importantly, you can view all scan results in a completely simple way! As a result, purchase a license; in this case, you will be able to export data, as well as get additional assistance, if necessary, from the company's technical support specialists.
Rest assured that you will be able to cope with the loss of files, as DiskInternals will do its best to do so!

