CMOS Checksum error in Windows 10: Fix it now!
In this article you will find out:
- how to deal with this issue
- how to protect your data
Are you ready? Let's read!
About the CMOS Error
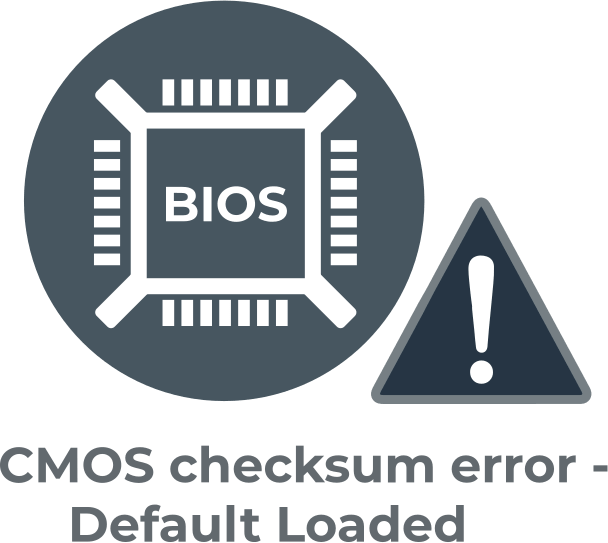
The CMOS checksum error would typically appear when your computer is unable to read startup information or the data provided by the CMOS does not match with the one provided by the BIOS. Basically, the CMOS checksum error appears due to a conflict of data between the CMOS and BIOS.
What Causes The Checksum Error?
There could be different reasons why this error is appearing on your PC, however, the most common causes of CMOS Checksum error include:
- Forceful shutdown
- Outdated or corrupt BIOS
- Damaged motherboard due to power surge
- Bad/dead battery
How to Fix This Error
There are a couple of ways to fix this error and they are all safe to practice. However, to be on the safe side, it is advisable to run a comprehensive backup before trying out these methods.
1. Reboot The PC
At first, when you get the error message, simply shut down the PC normally and restart it again. In most cases, this simple trick works, and you won’t see the CMOS Checksum error anymore.
2. Check the CMOS Battery
The CMOS unit is powered by a battery; it is not the same as the battery that powers your PC. The CMOS battery is very small and circular, stashed under the hood around the motherboard area. Find this battery and replace it, and the error may never occur again.
3. Re-configure the BIOS
When you try the two methods above and they don't work, you should consider resetting your PC's BIOS. If the BIOS is corrupted, it could cause this error to appear on your screen. Steps to reset or update the BIOS differ by computer models.
4. Roll Back Your PC
One of the methods above should fix the CMOS checksum error, however, if none of them did, consider rolling back your PC to a former state. This action is quite irreversible and you would lose any new file or data on the PC. Thus, you should run a backup to save all your files and data before rolling back your OS or the computer itself.
How To Protect Your Data Before Rolling Back Your PC?
You need a software tool that supports creating data backups. Interestingly, the DiskInternals Partition Recovery is one of such apps that allows you to create data backups for free. This software app is primarily a data recovery solution for Windows OS, but it integrates several extensive features, which include creating disk images.
A disk image is a type of data backup that simply clones your local storage drive. It stores everything in the selected drive, along with the drive’s configurations. Thus, whenever you mount back the disk image, your PC would return to the exact state it was when the backup was made.
To create a disk image with DiskInternals Partition Recovery, follow the steps below:
- Download and install DiskInternals Partition Recovery on your Windows computer.
- Launch the program after installation and close the “Wizard” that would launch automatically.
- Select the drive you want to back up (your primary disk), right-click on it, and select "Create Image."
- Choose the options, and also select a directory to save the Disk Image. (Note: disk images must be saved on an external drive).
You can also create multiple disk images with the free version of DiskInternals Partition Recovery. In contrast, if you want to recover your lost files with this software, it can recover them all back, but you must upgrade to the PRO version before you can restore back the recommended files.
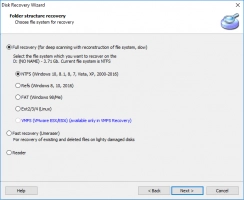
This software is very advanced - the results and performance is backed by 15 years of successful data recovery. It is also the preferred choice of most IT professionals.

