Step-by-step guide on how to fix File explorer not opening issue

In this article you will find out:
- what is this error
- how to deal with the issue
- how to protect your data
Are you ready? Let's read!
The problem “File explorer not working” can occur in Windows 7, Windows 8, and Windows 8.1, but most often users complain about this error in Windows 10. As a result, you cannot open or view folders or files in Windows 10 due to that you cannot open explorer. This article offers you the right solutions and detailed instructions to solve the problem and regain access to your files and folders.
Using Task Manager...
To do this, press Ctrl + Alt + Delete at the same time, then search for Windows Explorer.
Now you need to right-click on it and select "End task".
At the top of the Task Manager window, click File and select the Run New Task line.
In the appropriate window, type "explorer.exe" and press "Enter" to restart the file manager.
If you still have the problem of Windows 10 file explorer not opening from the taskbar, try all the methods described in this article one by one, you will definitely get lucky!
Looking for updates...
Check if any new updates are available and if so, install them immediately. After all, the new updates fix known bugs related to Windows.
Click Start and type update in the search box and select Check for Updates.
Windows will open a new window with available updates, click Install Now, and follow the wizard's instructions to complete the process correctly and without errors. Then restart your computer and enjoy the result.
Restarting PC...
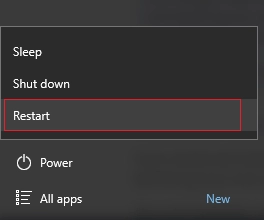
Perhaps there was just some kind of failure that does not allow the opening of the file manager and a regular restart of the computer, in this case, should cope with this failure. Therefore, feel free to restart your computer and check the effectiveness of this simplest method.
Creating a new path...
To change the path for the explorer, first right-click the Explorer icon in the taskbar, and select the "Unpin from taskbar" option.
Next, right-click an empty space on the desktop and select "New", then click on "Shortcut" and enter the following address: "C: \ Windows \ explorer.exe" in the "Create shortcut" window; click Next.
For ease of use, you can rename the shortcut to "Explorer" and click "Finish".
Now all that remains is to pin this shortcut to the taskbar and double-click the newly created shortcut to make sure you can open File Explorer.
Restoring default settings...
You Can also go to the explorer options and restore the default settings as they may have been knocked off.
So, go to "Start" and enter the query in the search box: Explorer options and click OK.
In the new window, on the General tab, click Clear. This way you can clear your explorer history. Then click on "Restore Default Settings", go to the"View" tab and click on the "Reset Folders" section. Here select the option "Restore defaults" and wait for the process to finish. It is recommended to restart Windows for the changes to take effect.
Using advanced settings...
Also, try to optimize advanced system settings and thus quit explorer.exe.
Go to the Control Panel, select the System section, and open Advanced System Settings.
In the under section "Performance" click "Settings."
Here you will need the tab "Advanced" - adjust the optimal performance of the "Programs" if you have not done so before.
Next, open "Virtual memory" and click "Change ..."
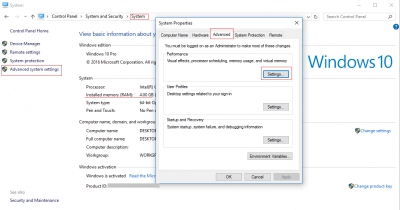
Here, activate the function "Automatically manage paging file size for all devices" and exit the utility.
After restarting your computer, try opening the file manager.
Formatting disks...
Try cleaning your hard drive to free up more space for your computer.
Right-click the drive you want to clean up and select "Disk Cleanup"; click “Enter".
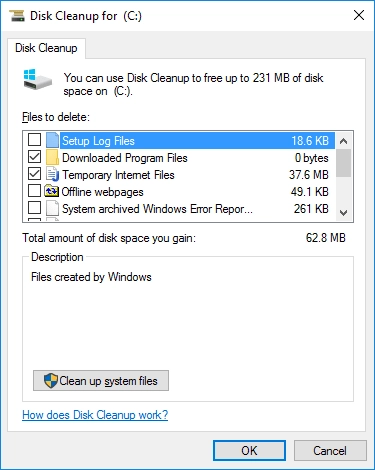
Now just select all unnecessary files in the list and click "OK". It is always recommended to restart your computer after cleaning the disk to improve the result.
Running troubleshooter...
The System Maintenance Troubleshooter helps you automatically fix computer problems, including "File Explorer won't open."
Go to the "Control Panel" and go to the "Troubleshooting" section. Next select "View All" and then click on "System Maintenance".
Click on the option "Try to troubleshoot as administrator" and follow the wizard's recommendations. After the check is completed, restart the computer.
Using command prompt...
You will need the command line to run SFC, which fixes corrupted or missing system files and thus can probably deal with your problem.
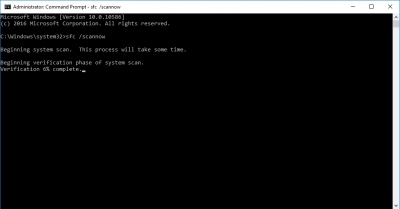
Click the "Start" button and type cmd into the search box, then right-click "Command Prompt". Select "Run as administrator" and enter sfc /scannow to check and repair corrupted or missing system files on your computer using this utility.
It is not difficult to recover files if they have become inaccessible or disappeared after fixing an error using special professional software
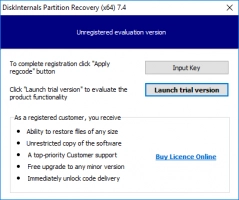
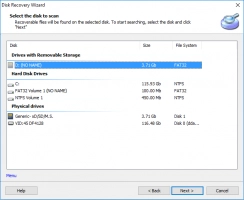
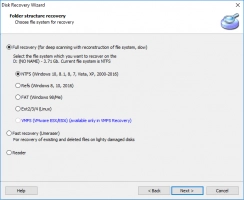
Use DiskInternals Partition Recovery, this will probably be the smartest decision for you.
A simple and accessible interface with a built-in automated assistant, which accompanies you at every stage, turns the work with the program into a holiday. Try this software for free first; you only need to purchase a license for this product if you want to keep the recovered files and folders.
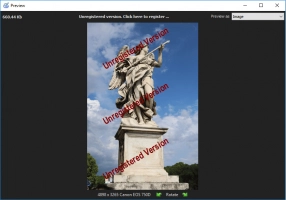
The software developers have created a free preview of files before recovery in all versions of the application. In fact, this is great news, as with this feature, you will ensure that your files are correctly restored before you buy the product.

