Fix igfxem issues now!

Here you will find out:
- about igfxem.exe
- how to fix issues
- how DiskInternals Partition Recovery can help you
Are you ready? Let's read!
About igfxem.exe issue
Igfxem.exe determines how other programs will access certain software configurations. This process is associated with the Intel Common User Interface Module. In some situations, Igfxem.exe conflicts with the software and this, in turn, leads to a reboot of the processor. In addition, some virus programs pretend to be the Igfxem.exe process (have the same name) and are the main cause of constant high CPU utilization. Of course, this fact affects the operation of the computer and can bring you a lot of trouble. Therefore, it is time to deal with the “igfxem.exe high CPU” problem and not forget about the security of your system. Let's get started!
1. Use antivirus
Since a high disk load can be caused by a virus, it is wise to check the disk for malware and viruses first. System scans can be done using the built-in Windows Defender tool or using your third-party application.
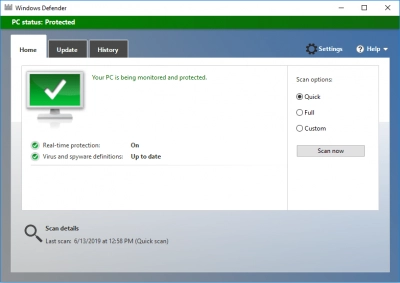
For greater confidence in the scan results, you can run two anti-virus solutions one by one. After a complete system check, restart your computer and check if the “igfxem virus” problem remains.
2. Update drivers
Visit Intel Download Center, and download the appropriate driver. Then you need to unpack the file to the desired location.
Now press Windows Key + R and in the Run window enter devmgmt.msc and click OK.
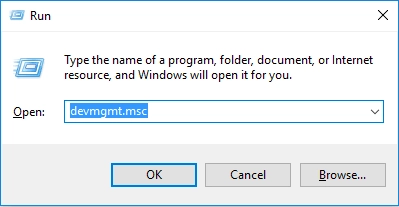
Next, expand the Display Adapters section and right-click on the Intel Graphics option. Next, select "Update driver software," click "Search my computer for drivers.'' Then click on the button Browse and go to the place where the unzipped driver files were.
Click Next and restart your computer.
You can fix the igfxem.exe high CPU usage problem by updating your version of the Intel graphics driver.
This will update your GPU to the latest drivers.
If you are not satisfied with the manual search for drivers, you can do it automatically. To do this, you can always use third-party solutions, in this case, the drivers will be updated in just a couple of clicks.
3. Work with process
If you are still having problems with igfxem.exe and are concerned about high CPU usage, you can stop the igfxem.exe process by clearing the task in the Task Manager.
So, press Ctrl + Shift + Esc, and this way you can open the task manager.

In the Processes section, find igfxem.exe, right-click it and select the End task option. Close the Task Manager dialog box.
In addition, you can still block the Igfxem.exe process from starting at computer startup.
To do this, in the Run dialog box, enter msconfig and press Enter /OK to open the system configuration.
Open the Services tab and go to the igfxem module.
Uncheck it and confirm the changes by clicking on OK and Apply.
4. Delete pointless processes
If high disk utilization still bothers you, then turn all unnecessary processes in the Task Manager.
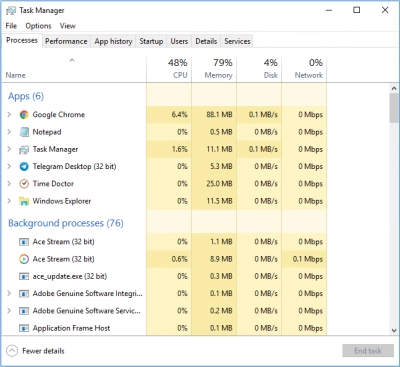
To do this, on the Processes tab, find resources that are taking up a lot of CPU and terminate them.
However, remember not to interfere with some core processes of the operating system. For example, this applies to the explorer.exe and winlogon.exe processes.
Need to roll back OS updates? Make sure your data is safe
You need to take care of the safety of your data, as the “igfxem module high disk usage” problem may sooner or later damage your files and folders.
You can run the professional tool, DiskInternals Partition Recovery, which works with all disk partitions separately and recovers 100% of lost files if no data was overwritten. So, install the free version of DiskInternals Partition Recovery software, and don't waste precious time.
Fear not: there will be files of any type and size, whatever the reason for their loss. This application supports all versions of Windows: 8.1 / 10/8 / XP / Vista, etc. The program can recover files on most file systems with the ability to convert them at the software level: NTFS, exFAT, FAT 12, FAT 16, FAT 32, NTFS / HFS, etc. The unique interface makes using the program a pleasure even for novice users - all this is thanks to the built-in recovery wizard.
Read the guide for DiskInternals Partition Recovery, and get started productively right now.
Step 1. Download and run DiskInternals Partition Recovery.
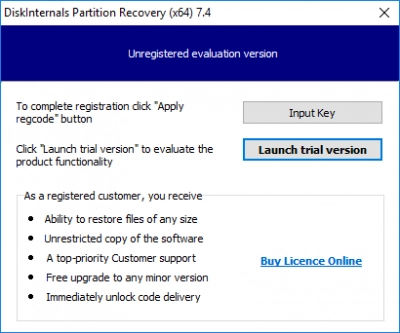
Step 2. Open the application, and in a new window, click the wizard icon and then the Next button.
Step 3. Select the drive where the deleted files and folders were.
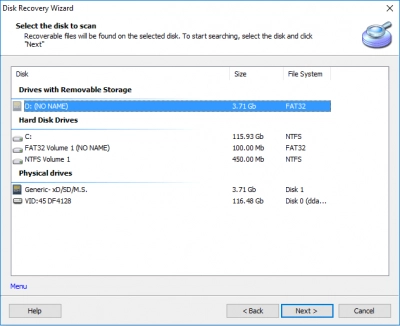
Step 4. You need to select the type of file you want to recover.
Step 5. Scan. Select a scan mode and click Next.
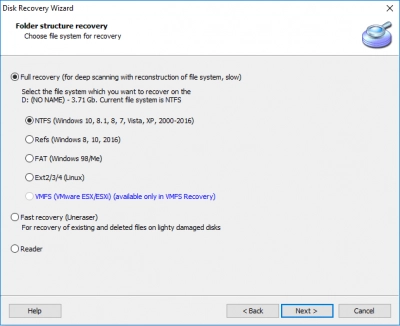
Step 6. Preview (completely free) - select the file you want to view and press the "Ctrl + P" hotkey.
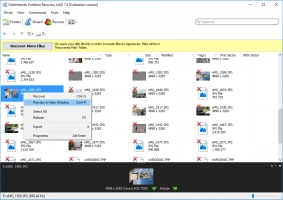
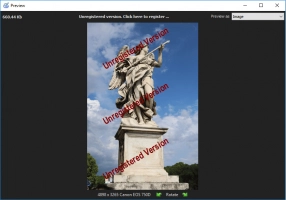
Step 7. You can save the recovered data anywhere after purchasing a license for this software.
