How to disable OneDrive

Here you will find out:
- what to do if you want to uninstall OneDrive
- how to remove OneDrive
- how DiskInternals Partition Recovery can help you
Are you ready? Let's read!
If you want to uninstall OneDrive
Virtually all modern versions of Windows come with OneDrive integration. OneDrive is Microsoft’s proprietary cloud solution for file backup, syncing, and collaboration. However, for one reason or another, you may want to uninstall OneDrive from your Windows computer – how would you do that? Basically, you can only disable OneDrive on a Windows computer, but if you wish to totally uninstall the app, some additional technical steps need to be followed.
How to remove OneDrive
Here are few methods that can be helpful and any of them can be your solution.
Method 1: Use Settings to disable OneDrive
Simply open OneDrive by clicking the “Search Icon" on the taskbar and type in “OneDrive”, then open the app. You should see the OneDrive icon on your taskbar or near the battery icon. You can also click on the icon to launch the app.
- Click on “more” on the context menu to continue.
- Go to “Settings”.
- Uncheck “Start OneDrive automatically when I sign in to Windows.”
- After that, navigate to the “Account” tab and click on “Unlink this PC” >>> Unlink Account
- Follow the prompts to complete the process.
Method 2: Use Group Policy
It is also possible to disable/remove OneDrive using Group Policy. This method is a bit more technical than the previous one, but it works.
- Press Windows Key + R and type in the following: gpedit.msc
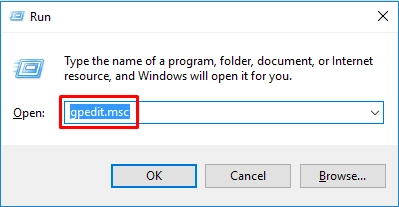
- Click “Run” top open the Group Policy page.
- On the page, go to Computer Configuration >>> Administrative Templates >>> Windows Components >>> OneDrive
- On the “OneDrive” page, double-click on Prevent the usage of OneDrive for file storage
- On the popup page, select “Enabled” and click OK.
- Restart your PC.
Method 3: Use Registry Editor
Using the Registry Editor, you can also remove OneDrive or disable it on your Windows computer. The Registry Editor works similarly to the Group Policy editor.
- Press Windows Key + R and type in the following string: Regedit
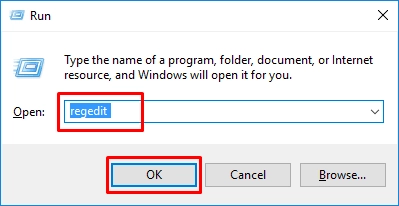
- Click “Run” to open the Registry Editor page.
- Go to HKEY_LOCAL_MACHINE >>> SOFTWARE >>> Policies >>> Microsoft >>> Windows
- Right-click on the “Windows” folder and select New >>> Key
- Save the new key with OneDrive.
- Now right-click the newly created OneDrive folder and select New >>> DWORD(32-bit) Value
- Save it as DisableFileSyncNGSC.
- Open the newly created file and set the value to “1” and click OK to save changes.
Restart your computer afterward.
It is easy to recover lost partitions
Just in case you lost some partitions or important files that were previously saved on your computer, there’s nothing to worry about. With DiskInternals Partition Recovery, you can get back those files. DiskInternals Partition Recovery is a professional data recovery software tool that allows you to get back lost partitions with everything intact.
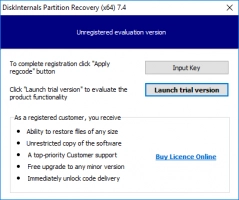
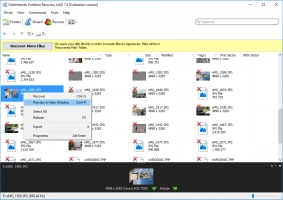
The software is compatible with Windows 7, 8 10 and previous versions. It also supports a lot file systems as FAT32, exFAT, NTFS, UFS, HFS+ and much more.
Partition Recovery has built-in Recovery Wizard that would help you through the process of getting back your partitions, files - documents, music, video and etc. Also, DiskInternals Partition Recovery is intuitive and supports three (3) distinctive recovery modes, meant for different data loss scenarios.
You can preview most of the recovered files to confirm them before re-saving them to another storage medium.
