If you want to turn off Windows ink, here is how to do it with no harm for your data

In Windows 10, there is a new feature of Windows Ink Workspace, which is used for more convenient usage of the digital pen on the tablet Windows 10 or convertible device.
Besides, Windows Ink Workspace includes the new Sticky Notes, Screen Sketch, and Sketchpad apps. In the Settings section, you will find even more options for controlling the pen functions.
Here you will find out:
- how to work with Windows ink
- how to turn off Windows ink
- when DiskInternals can help you
Are you ready? Let's read!
How to connect it with a pen?
Windows Ink Workspace is based on the following: you take a pen, press the button, and then press the pen application you want to use.
For example, in the sidebar on the right side of the screen, you have the new Sticky Notes, Sketchpad, Screen Sketch tools, and shortcuts to recently used pen applications.
In the Recommended Apps section, you get apps from the Windows Store. You can also use the Get More Pen Applications feature, which only lists pen applications. This will greatly speed up the search for the required supported application.
How to configure a Pen?
To do this, go to the "Settings" section, then select "Devices" with the left mouse button.
Now, click on Windows Pen and Ink, where you will find many options for pen control and Windows Ink Workspace. For example, you can tell Windows if you are left-handed or right-handed, and choose what the button on the handle does on single-click, double-click, long-press, and so on. As you can see, setting up this application is simple and straightforward.
How to work with Windows Ink?
So, first, you need to open the Windows Ink workspace. To do this, tap the Windows Ink Workspace in the form of a pen (it is located in the notification area).
If you have a stylus with a shortcut button, you can also quickly launch Windows Ink Workspace by pressing a button on the pen.
Now, let's figure out how to use the three most common applications of Windows Ink Workspace.
- The application is Sticky Notes, which is required to write notes with a pen (or just type them from the keyboard). This makes the process of writing simple notes easier and faster. If your notes are extensive, Microsoft OneNote is probably the best. If you turn on the "Enable Analytics'', it will make Windows recognize the characters, read your stickers, as well as use Bing and Cortana. For example, if you write down the flight number and site name, Sticky Notes will perform character recognition and turn them into a link. Then you can simply touch the link and find out all the relevant information about this flight number or about the site.
- Sketchpad is just a digital whiteboard that you can control as well. You can use different writing styles (change color, pencil thickness, marker, etc.). You can use the virtual ruler, which will allow you to draw a completely straight line that can be snapped to the edge of the ruler. The board image can then be saved, or you can use the Share button to send it to someone through another application.
- Screen Sketch is a screen layout tool. This is done like this: first, a screenshot is taken, then you use the available drawing tools. You can also save your work to an image file and send it to someone or use the share button.
How to turn Windows Ink off?
If using a pen with Windows 10 is not relevant for you and you want to remove Windows Ink Workspace from your taskbar, you should simply disable this feature. This process is no different from disabling other system icons.
In the "Settings" section, open "Personalization", then go to the "Taskbar". Click on the "Turn on or off system icons" icon. In the new window, click on the Windows Ink Workspace icon and set it to "Off."
Make sure your data is safe
If you have lost any saved files, and you really need them, you should restore them as soon as possible. In this case, such a rush is appropriate since there is always a risk of overwriting data, after which recovery will be impossible. However, it is necessary to take with all responsibility the choice of a specific program for data recovery because the result depends on it. DiskInternals Partition Recovery is developed by professionals and can recover up to 99.8% of lost files.
The program works with many file systems: HFS, NTFS, FAT, ReFS, UFS, EXT2/3/4, ReiserFS, etc. It works on each of the hard disk partitions, which gives amazing results. DiskInternals Partition Recovery can easily cope with the recovery of any type of data in the most difficult situations (formatting, virus attack, accidental or deliberate deletion, hard disk damage, operating system errors in various situations, etc.).
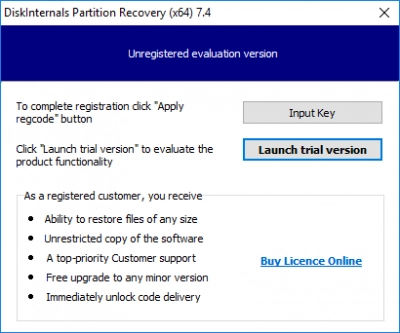
To use this software, you need to download and install it on your computer or laptop. Then the built-in simple and convenient Recovery Wizard will do the rest for you. For customer convenience and clarity, DiskInternals has developed a free promo version that you can use right now and make sure the words are true.
Instructions for using DiskInternals Partition Recovery are included:
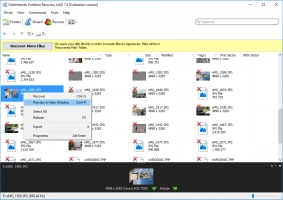
- Download and install DiskInternals Partition Recovery and the Recovery Wizard will launch automatically. You just need to select the partition or the disk that you want to recover, as well as basic data search options.

- The scanning process will begin; wait for it to complete.
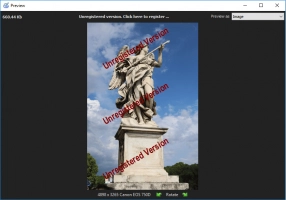
- Free preview and recovery for every client.


- To export the recovered files, you just need to buy a DiskInternals Partition Recovery license and follow the detailed instructions of the Export Wizard to complete the process.
