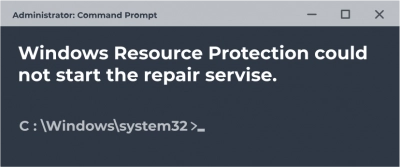
'Windows resource protection could not start the repair service' issue occurs: your actions?
In this article you will find out:
- how to get rid of the 'Windows resource protection could not start the repair service' issue
- how to protect your data
Are you ready? Let's read!
About "Windows resource protection could not start the repair service" issue
Many users actively use System File Checker or sfc.exe to fix system errors and restore corrupted Windows system files. This utility is built into Microsoft Windows and is usually located in the C: \ Windows \ System32 folder.
There are times when you run into problems when launching the System File Checker and the program cannot successfully complete the task. As a result, an error message appears on the monitor screen:

- System File Checker does not start or cannot be restored.
- System File Checker cannot repair a corrupted file.
- Windows Resource Protection found corrupted files, but could not fix some of them.
- System File Checker is not working.
In this case, do not give up, try running the System File Checker in the following ways:
- in safe mode,
- at boot time,
- repair the Windows Component Store using DISM.
If that doesn't work, there is a different way to fix the “windows resource protection could not start the repair service recovery console” error - read the next paragraph for that.
Windows resource protection could not start the repair service? Fix it
If you receive an error message “Windows Resource Protection cannot start the recovery service,” try the following maneuver:
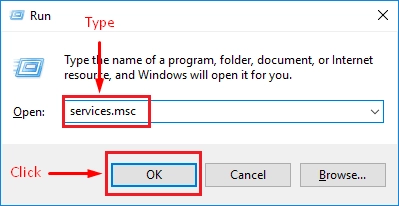
Click on the Start button and in the search bar type Run services.msc and click OK.

This will open the Service Manager, find the Windows Modules Installer or the TrustedInstaller service here, and run it by double-clicking on it. Be sure to make sure the service is running, otherwise, click the Start button. Pay attention to the startup type, it must be set to Manual.
For reference: The TrustedInstaller service and the Windows Modules Installer allow you to perform various manipulations with operating system updates, namely, install, modify and remove Windows updates and additional components. If this service is, then these actions on the computer will fail.
Also, this service has full access to files and registry keys of Windows Resource Protection. Therefore, to repair missing or damaged system files, you need to start the TrustedInstaller service and the Windows Modules Installer.
You can also get rid of the error “Windows resource protection could not start the repair service Windows 7” using the command line. Then you should open an elevated command prompt, type the following:
- Net start Trusted installer and press Enter.
- Start the Trusted Installer service and press Enter.
- Now try running the System File Checker, and it should shut down correctly.
While fixing the error under investigation, unexpected deletion or damage of your data from the hard disk (or external, second internal drive)
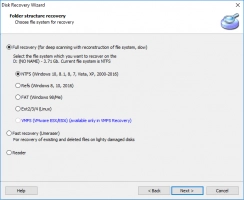
Then you will face a difficult task - to recover data. This responsible business can only be provided by a professional and reliable file recovery application. And with DiskInternals Partition Recovery, it's not only easy, but it's also fun.
This application works with all known file systems, even if they are damaged and unreadable. But, if you have another reason for data loss, don't worry; the application will handle any change. This statement is based on many years of experience (the application has been on the market for over 15 years) and feedback from regular grateful customers. Recovers music, photos, documents, mail, videos, and more with equal accuracy up to 1 PB of data at no additional cost. The Recovery Wizard selects the most appropriate course of action by analyzing the specified search criteria. The program is available free of charge with all options, except for exporting data to another data source (this requires a license).
Now start downloading the DiskInternals Partition Recovery program, after which the recovery wizard will start working:
- Click the disk that needs to be scanned.
- Select the type of file you want to recover - this step is used as you wish.
- Click on the Scan button, you can choose one of several modes.


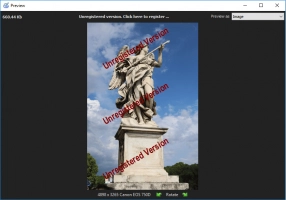
- This is followed by a free view of the found files marked with a red cross.
- As mentioned in this article, export is possible with a license that can be purchased on the site. The Export Wizard will then help you end the session.
