If CHKDSK cannot open volume for direct access
Here you will find out:
- about CHKDSK cannot open volume for direct access issue
- causes of the issue and methods of how to fix it
- how DiskInternals can help you
Are you ready? Let's read!
"CHKDSK cannot open volume for direct access" issue
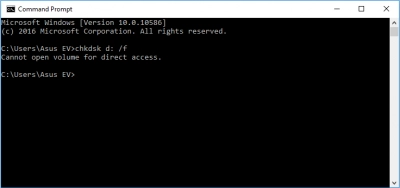
The CHKDSK program is widely used to check for errors not only on hard drives but also on any removable storage media. This utility does an excellent job of the task, but sometimes, during the check, this message may pop up: “CHKDSK cannot open volume for direct access”, or something similar. After that, any actions with the disk will be impossible. Of course, users immediately panic very much, since such an outcome of events is not proper.
And here is what this article will say about it!
Causes of the "CHKDSK cannot open volume for direct access" issue
Unfortunately, the most frequent and real reason is an almost dead disk, which cannot open a volume for direct access via USB.
Another factor is software that has the ability to block system processes (antivirus programs most often do this).
Another cause is an incorrect, incomplete OS update.
Method 1. Restart the computer
First, you must disconnect the computer from the network. If you use a laptop, be sure to ensure that the battery is removed. Also, disconnect any external devices, and only after that, press the power button for a minute or a little less.
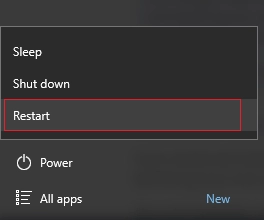
After that, turn on the computer in the usual way and check if the error SD card cannot open volume for direct access is there or not.
Method 2. Stop third-party antivirus or other software
Go to the Start menu and search for "services.msc".
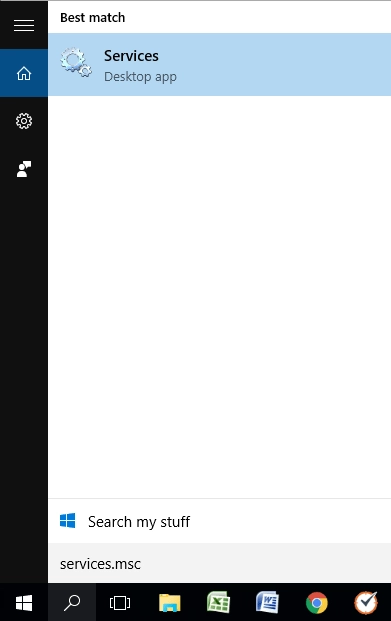
Now disable all possible third-party applications and programs through the Properties option. After that, it is usually recommended to restart the system. Then immediately check if you have full access to the volume. If everything is fine, then the antivirus is to blame for everything; it performs its function too well. From now on, just before using chkdsk, turn it off for a while.
If this method has not changed anything, proceed with another solution that is more suitable for you.
Method 3. Save your data
Here we are going to talk about software: DiskInternals Uneraser.
This application should be used before you use CHKDSK, because the recoverable data can be damaged (and most likely it will happen, since CHKDSK cuts data into small pieces). DiskInternals Uneraser has not let anyone down yet and you can rely on it with all confidence. The program recovers music, pictures, videos, documents and much more. A wizard is available for everyone with a nice, accessible interface. This allows the buyer to use the program with any level of training. A free preview is a great bonus and a kind of airbag for you and your money. The program is available not only in the licensed version but also in the trial one. Therefore, you can go through all stages of recovery for free and even view files; only for export will you need to buy a license.
But don’t worry, it can also be done online at any time. After that, the best specialists of the company will be able to help you in, especially difficult situations. So, go ahead and finally return your data.
Method 4. Try to run CHKDSK in a clean boot
Press the Windows key + R and type "msconfig".
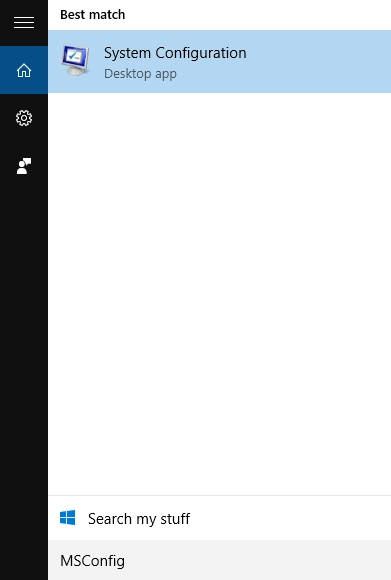
Next, in the section of System Configuration the tab Services, select the checkbox. Do not display Microsoft services. This means that only services not created by Microsoft will be displayed on your computer. Disable all of them, but remember the current configuration of the services (write down or use the screenshot) to restore the services in the same order after a clean boot.
After disabling unnecessary services, open the tab Startup and click on the link “Open Task Manager”. Disable all items, but save the original configuration information again for later recovery.
Now you can close all windows and restart your computer.
Method 5. Formatting can be an option
If there is no significant data, or if it is backup storage, you can format the disk or SD card, but always remember that all data will be deleted.
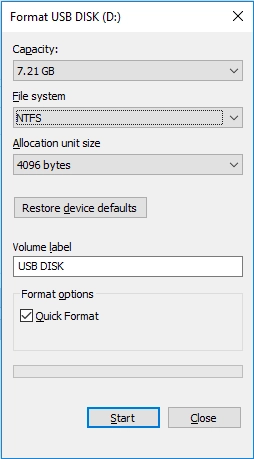
Just connect the disk to the computer and in Explorer, right-click on it. Then also click on the Format button and start this process with the help of the Wizard. It will take very little time, but your disk will be like new.
