How to protect your data while clearing cache in Windows 10?
Here you will find out:
- how to clear 4 types of cache
- how DiskInternals can help you
Are you ready? Let's read!
Few methods that can be helpful and any of them can be your solution
1. Temporary files
Temporary files can be cleaned up using the Disk Cleanup function.
To do this, enter “Disk Cleanup” in the Windows search bar and click OK.
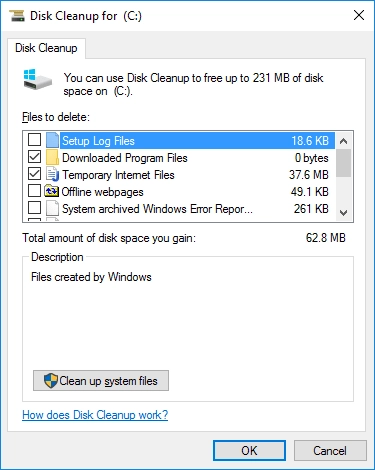
Select “Disk Cleanup”. You can select the Temporary Files checkbox, and you can also delete files from other locations, such as the Trash or Downloads. Then click “Clean up system files” and, in a new window, the Disk Cleanup utility will begin to calculate how much space you can free up on the operating system disk (C :).
Then click “OK”. A warning appears that the files will be deleted permanently, click OK, and then “Delete files”.
After a few minutes, the cache will be cleared.
2. DNS
You can clear the DNS cache by using specific commands at the privileged command prompt.
The command to flush the DNS cache looks like this:
ipconfig /flushDNS, press Enter.

After you receive a message stating that the DNS cache was cleared successfully, exit the command prompt and restart your computer.
3. Windows store cache
To clear the Windows Store cache, you should also use the command line functions. So, press Windows + R keys on your keyboard. The Run window will appear, where you will enter WSReset.exe and click OK.
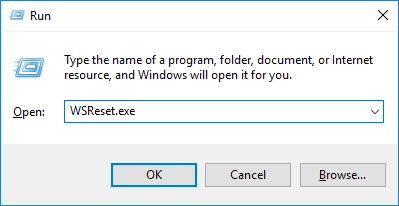
Then just wait a few seconds while the cache is cleared and restart your computer.
4. Location cache
To clear the location cache, open the Start menu and select Windows Settings.
In the new window, scroll down and select the "Privacy" option. Next, go to the Application Permissions subsection and select the Location tab there.
In the next window, find the "Location History" group and select "Clear" under the heading "Clear location history on this device."
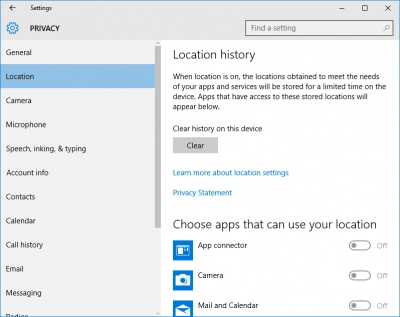
Wait for the cleaning to complete and restart your computer.
DiskInternals Uneraser is one of the best professional tools
It is suitable for both ordinary users and professionals who need to recover any data from a disk or its partitions. This software works with various types of storage media, such as hard drive, flash drive, SATA drive, SSD, external hard drive, IDE drive, etc.
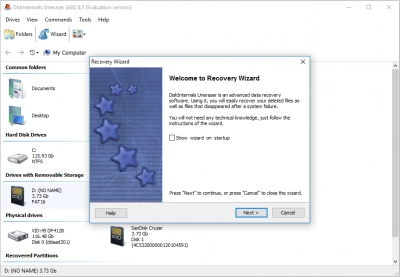
With DiskInternals Uneraser's built-in Recovery Wizard, you can recover deleted or lost partitions faster and easier automatically.
Uneraser has a great feature: file preview is present even in the free trial version. Thus, you can evaluate the operation of the program before purchasing a license and be confident in your choice.
A guide to recovering a disk using DiskInternals Uneraser:
- Step 1. Download and run DiskInternals Uneraser on your device.
- Step 2. The Recovery Wizard will start automatically, or you can start it yourself by clicking the Wizard button.
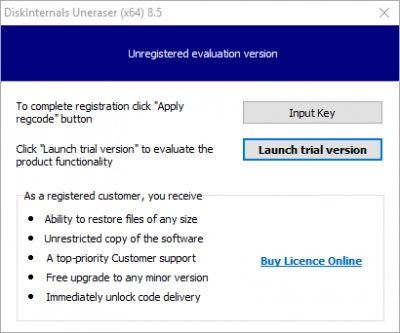
- Step 3. Select the target disk in physical disks and disk recovery mode and the type of files to recover.
- Step 4. Scanning will take some time; be sure to wait for the process to complete.
- Step 5. Preview and automatic file recovery for free.
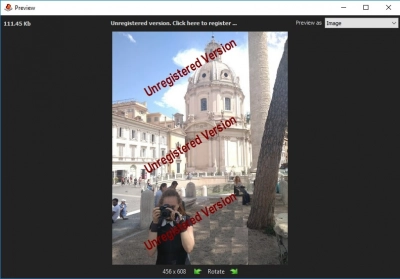
- Step 6. Saving is available after purchasing and activating the license on the DiskInternals website.
