What should you do in case of ‘The device is not ready’ error?
Here you will find out:
- about 'The device is not ready’ error
- how to fix this issue
- how DiskInternals can help you
Are you ready? Let's read!
About the "device is not ready" issue
On one or many occasions, you definitely should have come across the "device is not ready" error message - it is one of the commonest Windows error messages you're likely to get when you try to access a flash drive, USB device, or any other external storage disk, including discs. The error is clear to understand - it means that your external device is not yet fully connected to your PC. But sometimes, your device will be fully connected and you'd yet see this error; in such case, below are methods to fix the possible issues.
Let’s Get Rid of 'The device is not ready’ Error
Here are few methods that can be helpful and any of them can be your solution.
Recover Your Data
When you encounter this error, and you're afraid some of your important files may get affected, it is advisable to use reliable data recovery software to retrieve your files and save them to another (readable) disk/drive. DiskInternals Uneraser is a professional, easy-to-use data recovery software that lets you get back any lost or deleted file on your computer. Its recovery efficiency is backed by 15 years of regular upgrades and integration of cutting-edge algorithms.
With DiskInternals Uneraser, you can retrieve all your important files and data from the disk/device that Windows could not open, and save them to another drive/disk/device.
Uneraser can read all kinds of external storage devices, as well as internal storage devices. It features an intuitive interface, supports various file formats, and reads all Windows file system formats.
How to Use DiskInternals Uneraser
First Step:
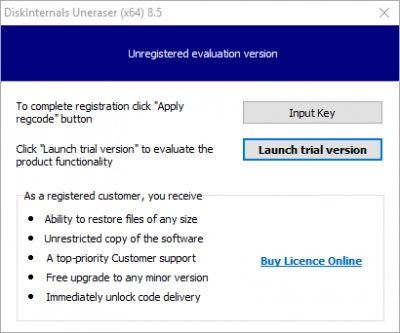
Download and install the software on your Windows PC, it is compatible with all Windows OS versions, starting from Windows XP to Windows 10.
Second Step:
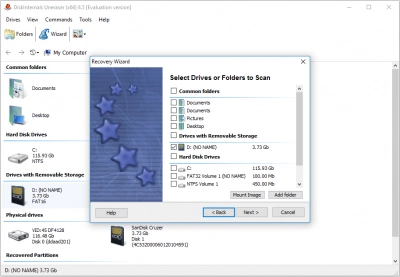
Launch DiskInternals Uneraser and click on the “Wizard” icon to launch the recovery wizard. Choose the drive or device you want to recover files from and follow the on-screen prompts.
Third Step:
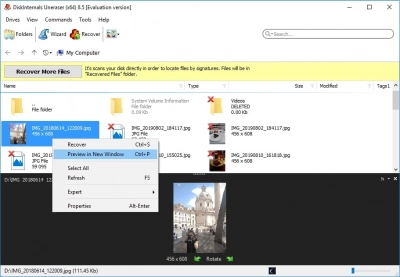
You can preview the files before finally saving them to another storage drive, where they’d be safe.
Examine if the Device is Connected Properly
Plug out the device and wait for some seconds before connecting it back. Also, check for physical damage to the body of the device.
Check Your Drivers
Outdated drivers are among the commonest causes of most Windows errors. So, when this error occurs, check if your drives are outdated, and then update them.
Check Disk
Open Windows File Explorer and click on "My Computer" or "This PC" on the left pane. Right-click on the problematic drive and select "Properties."
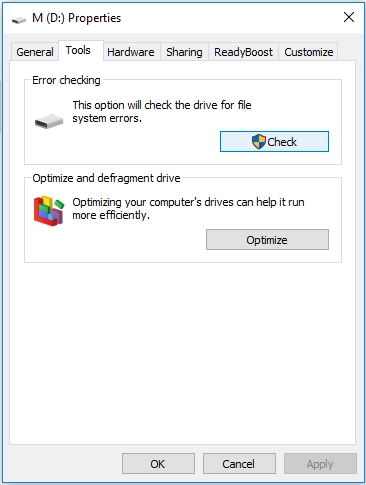
From the Properties box, navigate to the Tools tab and click on the "Check" button under "Error-checking." But before you start using check disk you may want to restore your deleted files otherwise they may not be recoverable anymore.
Run SFC Scan
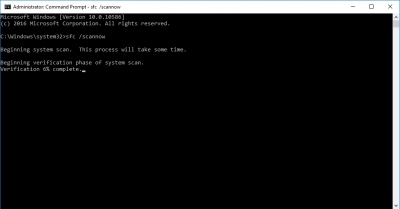
Launch Command Prompt as admin and run the SFC command, which is SFC /scannow. This will check your disk for errors and fix them automatically.
Troubleshooting
Go to “Control Panel” and search for “Troubleshooting.” Click on the respective option from the search results. Follow the on-screen instructions to troubleshoot the system.
