The best methods on how to fix JPEG error #53!
In this article, you will find out:
- what the reasons for the error #53 JPEG
- how to fix JPEG error #53 on Windows?
- how DiskInternals Uneraser can help you
Are you ready? Let's read!
Reasons for JPEG error #53
There are many reasons for JPEG error #53. To ensure that you know how to handle them, the following is a basic list of situations where you cannot access JPEG files.
- Perhaps you opened a JPEG file with a program that does not support this format.
- The computer's memory is rebooted, which prevents the files from being viewed.
- The JPEG file is saved with a damaged extension, which causes a conflict in the file format.
- Problems with the hard disk, file system, registry, or other system errors can directly lead to JPEG error #53. In this case, you need to respond as quickly as possible to the situation, as it may get worse over time (for example, you lose all data from the damaged disk).
But how do you fix JPEG error #53? This will surely be your first question. Don’t worry, everything will be discussed in detail below!
Method 1. Download or move the JPEG file again
Try to download or move the JPEG file again. It is possible that the previous transfer of the file was not completed or that something prevented it. In this case, it seems that the JPEG file is damaged, and you get JPEG error #53 when you try to open the file.
If after reloading, nothing has changed, then this is not the solution. Proceed to the next method.
Method 2. Copy JPEG file and change the extension
As mentioned above, perhaps the whole problem is due to accidentally or intentionally changing the file extension. In this case, copy this file by clicking on it with the right mouse button and selecting Copy. Now save it as a JPEG, and then try to open it. If it does not work, do not worry; method 3 will certainly help you.
Method 3. Use another JPEG viewer
Sometimes, to fix JPEG error #53, you need just to change your viewer application. You can try to open the picture with all installed software or use some other third-party app.
Does that not work for you? The last method should help!
Method 4. Perform JPEG recovery with DiskInternals Uneraser!
If you want a good result and do not want to waste your time, use DiskInternals Uneraser software to restore images, including JPEG files. This software has a convenient and simple built-in wizard that will help you to return your files, even if you are doing it for the first time.
You can preview the found data before recovery, absolutely free. All you have to do is download and install the free trial version of DiskInternals Uneraser and follow the step-by-step instructions described below.
- 1. Download and install DiskInternals Uneraser.
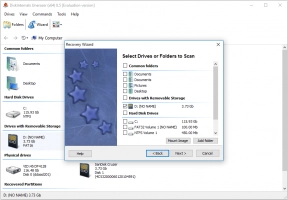
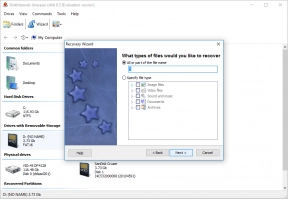
- 2. The wizard will load automatically and prompt you to select the parameters that will be used to search for files. Select the location where the data was lost and the type of files you want to restore.
- 3. Scanning will take some time. Wait for the process to complete.
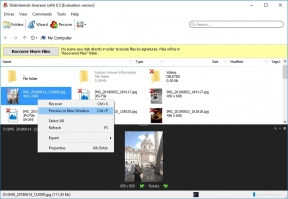
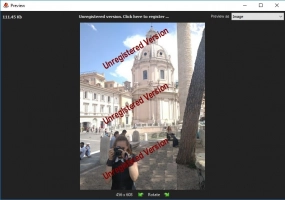
- 4. Preview and recover. Before restoring your photos and pictures, you can use the “Preview” function by clicking on the file with the right mouse button. By doing this, you will be convinced that your data will be restored correctly.
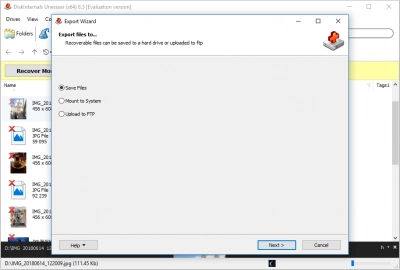
- 5. Saving. To do this, you just need to buy a license for this product. As you can see, with DiskInternals Uneraser, recovery is very simple and concise.
Good luck!
