Need to Recover deleted TIFF files? It's easy!
What is a TIFF file and how to perform .tiff file recovery? In this article, you will find out a lot of answers on these and similar questions, including:
- what is the best TIFF recovery advice?
- what tips can help you to open corrupt .tiff file?
- why DiskInternals Uneraser is what you need
Are you ready? Let's read!
Overview of the TIFF image format
TIFF is a format for saving bitmaps. The abbreviation TIFF stands for Tagged Image File Format and was created in 1986. Like any other image format, for various reasons (accidental deletion, formatting, virus damage, etc.) they can be lost. Recovery of TIFF files is easy if you approach it wisely. This article will help you.
The best advice for TIFF recovery
Wherever there were TIFF files — on a hard disk, on a card, on a flash drive, on an external hard disk, etc. — do not add or handle other files. This will help you to avoid overwriting data and keep the possibility of TIFF photo recovery alive.
What can you do to repair TIFF file?
If the TIFF file is damaged, try these simple TIFF file recovery methods that you can use at home.
- 1. Open the TIFF file with other software. For example, if you previously used Windows Photo Viewer, try Photoshop. This very often works.
- 2. Change the name of the TIFF file. To do this, right-click on the file and select Rename from the list. Then enter the new name for the TIFF file.
- 3. Download or transfer the TIFF file again from its original location. It is possible that an error occurred during the last file transfer due to improper removal of the device, power loss, etc.
- 4. Make a copy of the corrupted TIFF file and convert the duplicate TIFF file to any other graphic format (such as JPEG, BMP, or PNG).
If these simple methods did not help to recover TIFF files, do not be discouraged. The following is a reliable 100% TIFF file recovery method.
TIFF Recovery with Uneraser
Recovery of TIFF files is easy to do with the help of specialized professional software. And DiskInternals Uneraser is the easiest and best option for this kind of software. A simple and accessible interface with a built-in assistant that accompanies you at every step makes working with the software a treat.
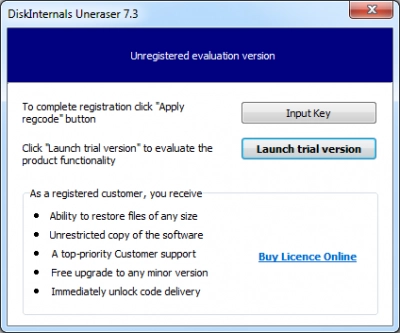
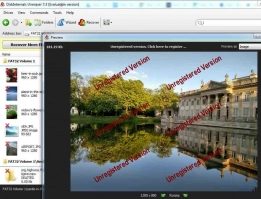
First, use the free trial version of this software. You only need to purchase a license for this product if you want to save the recovered TIFF files. DiskInternals Uneraser has a free file preview function before recovery.
This is great news, as with this feature, you will be convinced that the files can be correctly restored before you buy the product.
All that is needed is to follow the instructions below. Your TIFF files will be waiting for you with the original name, where you want it.
How to recover TIFF files with Uneraser
Here are step-by-step instructions for using DiskInternals Uneraser.
- 1. Download and run the DiskInternals Uneraser software. Do not install on the same partition where your TIFF files were lost! For example, if your TIFF files were deleted on the C drive, install recovery software on the D drive or any other.

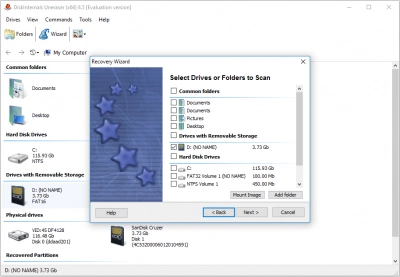
- 2. Select the basic parameters for the search: the disk, the files from which you want to recover, as well as the type of file you want to restore (you can skip this step and Uneraser will show you all files that are possible to restore). Press Next.

- 3. Scan. All files found will be marked with a red cross in the upper left-hand corner.
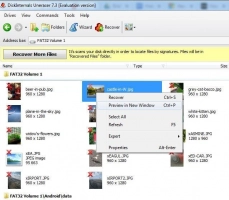
- 4. Preview and restore. Select the file, right-click and click "Preview in New Window". Recovery is automatic.
- 5. Saving files. Simply purchase a license for this product and enter the license key in the appropriate window. No reinstallation or research is needed! Remember to save the data someplace other than the original location to avoid overwriting the data.


