Wsappx Lead to High CPU Usage? Find the way to fix the issue!
Here you will find out:
- what is wsappx
- can it lead to high disk or CPU usage and how to turn it off
- how DiskInternals can help you
Are you ready? Let's read!
What is wsappx?
Ordinary users hardly ever notice on their computer the process wsappx, and sometimes they don’t even know what it is.
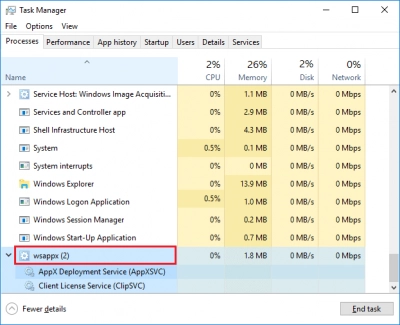
This process can be found in the Device Manager. There you can also see that it uses a lot of CPU and hard disk resources. It consists mainly of several threads that provide infrastructure support for the official Microsoft Store.
When you turn them off, the store’s applications will not work.
Wsappx may lead to high disk or CPU usage
Unfortunately, this is true: wsappx may take up too much space, due to the fact that it runs in the background. You may simply forget it or not notice that it is running.
All this can happen until you notice that the computer has become somehow sluggish, slowly responding to tasks, and sometimes does not respond at all.
Can wsappx be disabled?
No, this cannot be done, since the operation of the computer and the system would be disrupted.
But you can disable the Microsoft Store instead, and this can help you with wsappx high disk usage.
Method 1. Run antivirus first
If you still encounter wsappx having high disk usage, you first need to be sure that there is not a virus on the computer.
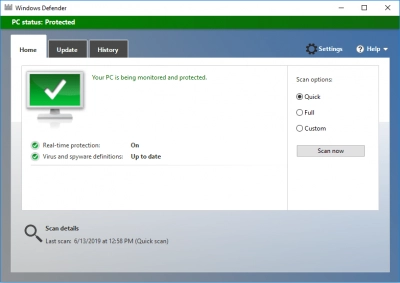
This can be done using a powerful, tested and updated antivirus program. Therefore, your first step is to run a disk scan.
If this method does not help, proceed with other methods for fixing wsappx high CPU usage.
Method 2. Use Local Group Policy Editor
This method will help you disable the application and thereby reduce disk usage.
Click on the Start button and go to the Search bar. Enter "gpedit.msc" and press Enter. Next, in a new window, go to the Local PC Policy section. Next, click on Computer Configuration, and then select the Administrative Templates section. Next, open Windows Components and then go to the Store.
Then find and select "Turn off the app" and activate it. Accept all changes and press Enter.
Method 3. Add virtual memory
When you add virtual memory, it can help you to cope with high CPU usage.
Here's how to do this: Open the Control Panel and select the System category and then move to the Advanced Settings. Go to the performance parameters by clicking on the corresponding button. Here, you are interested in another tab with the name “Advanced”: to go to setting up the page file in the “Virtual memory” section, click on “Change”.
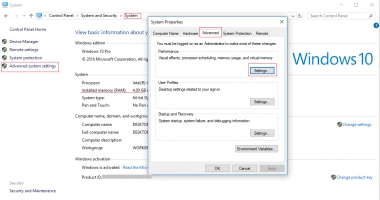
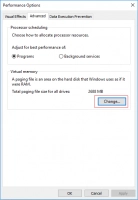
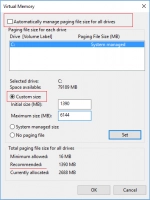
If a checkmark is set next to the item “Automatically select the size of the paging file”, remove it. Now mark the line “Specify size” with a marker to activate the ability to independently set the volume of the file in question. Increase the volume by the required value. Now all that remains is to click on Set to save the setting.
Only after restarting the computer will all changes take effect and wsappx disk usage will become acceptable.
Method 4. Delete useless files and apps
You can delete all unnecessary applications through the Start menu.
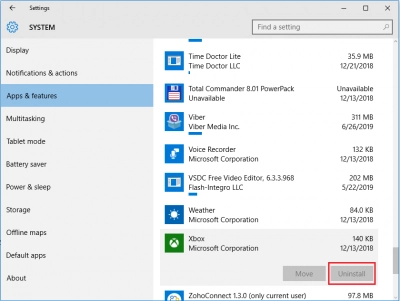
Further in the Parameters section, click on System. Then click on "Application and Features". Select the desired application and click Remove. The system will automatically start the installer; you will need to make a few clicks to remove it.
There may be one problem: If you accidentally delete some files and you need to restore them, then you need to solve the problem with recovery software like DiskInternals Uneraser.
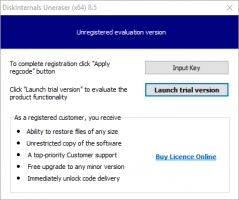
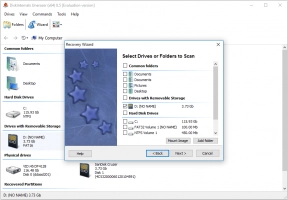
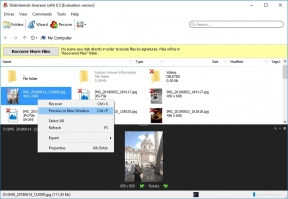
By downloading this application, you will be pleasantly surprised by the results of 100% of the time. The program is equipped with the most advanced options for your convenience: a wizard for quick and easy operation, a free preview for your peace of mind and, of course, problem-free data export to any medium.
