Recover FLV video files effortless and fast!
Need to recover FLV video file? You can do it! Here you will find out:
- what is FLV video file
- why FLV file is deleted
- how DiskInternals Video Recovery can help you
Are you ready? Let's read!
What do you know about the FLV video file extension?
What is an FLV file? It is the format of video files to which the delivery of a “raster” video applies.
At the moment, this extension belongs to Adobe Systems, although it is not developed by them. FLV encodes synchronized video and audio streams in very good quality. This video file format is delivered via Macromedia Flash Player to the end user; for example, in webcams.
But no one is insured against a deleted or lost FLV video.
Reasons for FLV video file loss
Most of the time, video files are lost due to human factors; for example, if you accidentally delete files, or accidentally or intentionally format the disk that contains the files you need.
Virus attack or malware damage may also occur to FLV files.
It is possible that the file system for some reason is damaged and, as a result, you have a deleted or lost FLV video.
In addition, system errors may cause data corruption.
In any case, one major question arises: how do you recover an FLV file?
Increase your chances for successful FLV file recovery
The main piece of advice is to avoid overwriting data.
Recover deleted video from your webcam as soon as possible, while not creating, deleting, or copying files in the same location where the deleted files are. If you ignore this rule, you risk losing your files forever.
Recover deleted FLV video with DiskInternals Video Recovery
DiskInternals Video Recovery is an application that will help you recover FLV files without much difficulty. With this software, everything is thought out to the smallest detail. If you doubt this, download the free trial version and test it. We assure you that you will be delighted. In addition, the Preview function before recovery will help you confirm the high quality of the recovered video files. It also has a built-in recovery wizard that will assist you at all stages of data recovery.
Use the instructions for DiskInternals Video Recovery, which are described below.
- 1. Download and install DiskInternals Video Recovery.
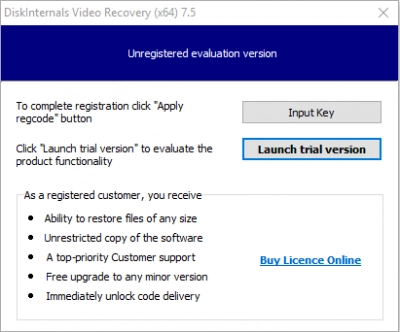
- 2. Then in the new window, click the wizard icon with the left mouse button and click the Next button.
- 3. From the list, select the device that had the important video files. Then you will be asked to select the type of files you want to retrieve. Click on the format FLV, or skip this step. Files can be searched after scanning.
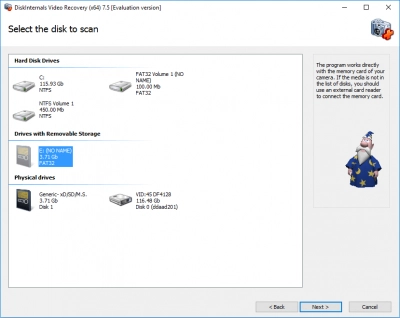
- 4. Scan. It may take some time, wait and do not worry.
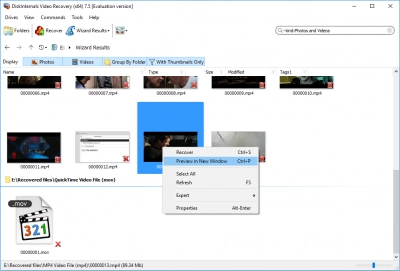
- 5. After the scan is completed, you will see files that can be restored (they will be indicated by a red cross in the upper left-hand corner). Right-click on the required file and select "Preview in New Window".
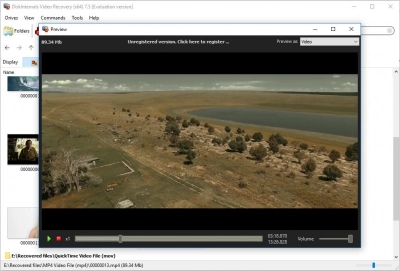
- 6. In order to save the recovered files, you need to purchase a license and enter the license key in the appropriate window.
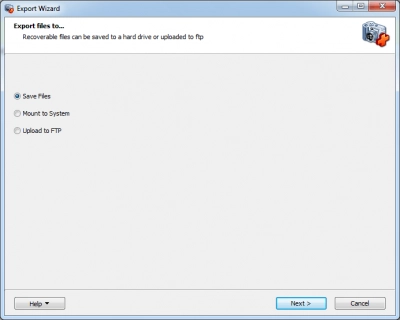
Then, choose a place to save (it's best to choose a different location for the files to avoid overwriting data).

