What is Hyper-V Replication
In this article you will find out:
- what is Hyper-V Replication
- how to configure Hyper-V Replication
- how to protect data with RAID Recovery
Are you ready? Let's read!
How do you keep your files safe in a Hyper-V environment on Windows OS computers? It's quite a straightforward process but ensure you back up your files before proceeding.
What is Hyper-V Replica
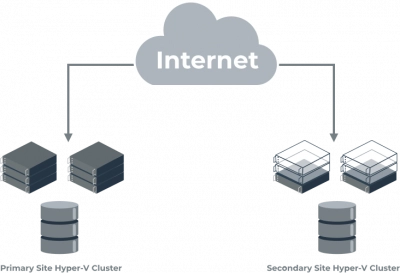
Hyper-V Replica is a free utility tool built into Hyper-V 3.0 to help with the recovery of virtual machines hosted on the Hyper-V environment. This function just creates a copy of your virtual machine(s) and uploads it to a "Hyper-V Replica" host, which is how it works.
So, in the case of a crash or fatal failure of the system, you can import the "Replica" virtual machine and still have access to your files. This is really useful in different ways. For example, if the primary host hardware fails, and there is a need to switch to a secondary host, if you had Hyper-V Replica enabled, you'd be able to launch your VMs on the secondary host.
So, in simple terms, Hyper-V replication refers to setting up virtual machines to “replicate” from a primary host to a secondary host to enable easy recovery in a case of drive failure or server crash.
However, this does not mean that Hyper-V replication replaces the need for regular backups; even with Hyper-V Replica enabled, you still need to make backups from time to time - that remains the safest way to keep your files safe.
Tip: Discover the difference between Hyper-V and VMware!Getting Started with Hyper-V Replica
First things first, here’s a comprehensive and detailed guide on how to carry out Hyper-V replica. However, this is simply the tip of the iceberg, the more detailed setup procedure is explained in the subsequent sub-heading in this article.
So, how is Hyper-V replica configured? You must set up at least two Hyper-V hosts; one would be the primary host, and the other would be the secondary host (where the data in the primary host would be replicated to). here are some keynotes:
- You will need to create two Physical or Virtual Host servers, and they need to run in the same Windows version - in this case (for this guide), Windows Server 2016 will be used - with Nested Virtualization.
- Nested Virtualization refers to a new virtual deployment/environment running in an already virtualized environment. To break it down further, it means the ability to run a hypervisor inside a virtual machine (VM) that is already deployed on a hypervisor environment.
- You must set up Hyper-V role on both servers since Hyper-V Replica is a feature of Hyper-V; also, ensure the servers are fully patched through Windows updates.
Having understood these tips, let’s proceed with how to get started in enabling Hyper-V Replica.
Hyper-V Replica Creation Steps:
- Open PowerShell and enter the following command: PS > Install-WindowsFeature Hyper-V
- On Windows Server 2016, you can run Hyper-V inside of a Hyper-V, which is Nested Virtualization (as explained earlier). If you wish to try this out, then you should turn off your Hyper-V VM and run this command on the Hyper-V server: PS > Set-VMProcessor -VMName “HYPV01” -ExposeVirtualizationExtensions $true
- Note: You do not need Failover Clustering to run Hyper-V Replica. What you need is a minimum of two servers with Hyper-V roles installed.
- You can host your Hyper-V servers in a workgroup PC or Active Directory Domain
Now, to allow replication between Hyper-V hosts, you need to allow some permissions. These permissions must be allowed on all Hyper-V hosts to be used, and below are the commands to run in PowerShell on the Hyper-V Hosts:
PS > Enable-Netfirewallrule -displayname “Hyper-V Replica HTTP Listener (TCP-In)”
To check out all Hyper-V rules, run this command:
PS > netsh advfirewall firewall show rule name=all dir=in | find “Hyper-V”
You can also see and enable Hyper-V rules from a GUI: Control Panel >>> Windows Firewall >>> Advanced settings >>> Inbound Rules >>> right-click on Hyper-V rules and select “Enable Rule.”
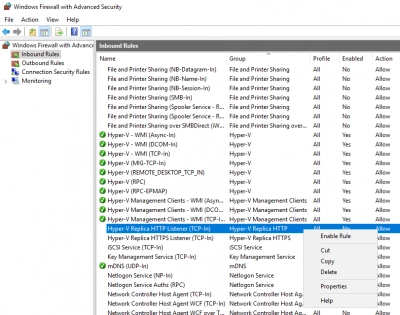
Remember, you have to carry out this process on both servers; once done, you can proceed with the procedure below.
Setting up Hyper-V Replica on Windows Server 2016
Here are the two hyper-V hosts for this guide:
Primary host: Hypv-AFF with IP Address 10.0.0.4.
Secondary host: Hypv-HHH with IP Address 10.200.200.4.
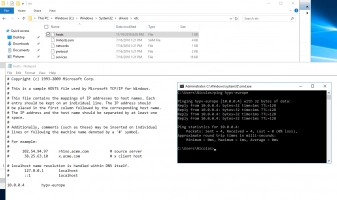
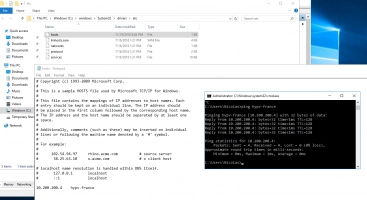
Now that the hosts are confirmed, the next is to check the communication link between the two hosts. But before that, ensure that your Firewall settings allow ICMP requests.

Note: You should always use "hostname." This would allow you to easily create host files with the IP address and hostname of the servers.
With all these points noted down, you need to start the Hyper-V Manager console, following these steps: Server Manager >>> Tools >>> Hyper-V Manager.
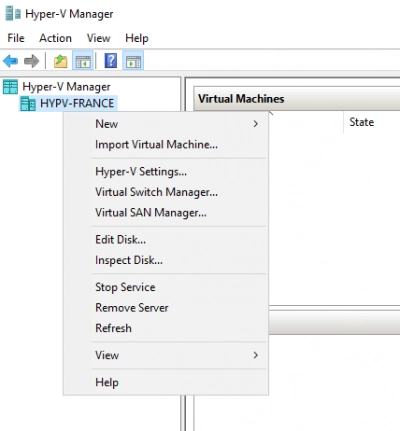
- When the console opens, Right-click on your Hyper-V Host and select Hyper-V Settings.
- On the left pane, select Replication Configuration (Hyper-V Replica)
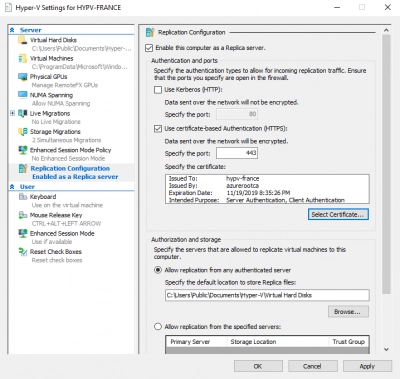
Repeat this procedure on the other Hyper-V host, too.
If you need a certificate for the replication, here’s how to create a root CA certificate:
PS > New-SelfSignedCertificate -Type “Custom” -KeyExportPolicy “Exportable” -Subject “CN=rootca” -CertStoreLocation “Cert:\LocalMachine\My” -KeySpec “Signature” -KeyUsage “CertSign”
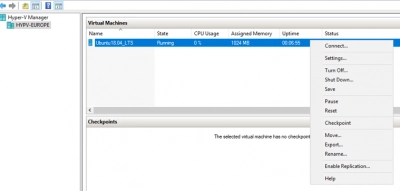
After creating the certificates for the two hosts, right-click on a Virtual Machine and select "Enable Replication."
- The replication wizard would prompt, click Next to continue.
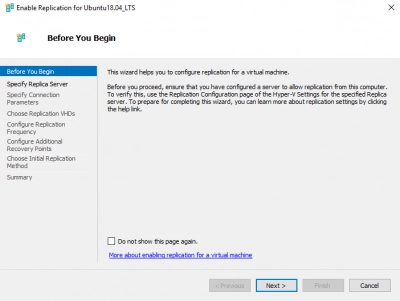
- This guide explains the replication of Hypv-AFF to Hypv-HHH.
- Click on Browse and select the Hyper-V Replica server.
- Click next.
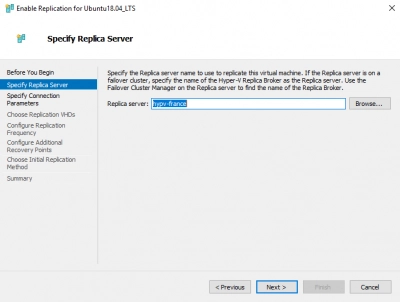
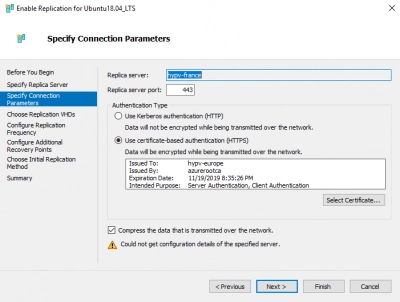
- Specify the connection between the two host servers and check the box beside “Compress the data that is transmitted over the network.”
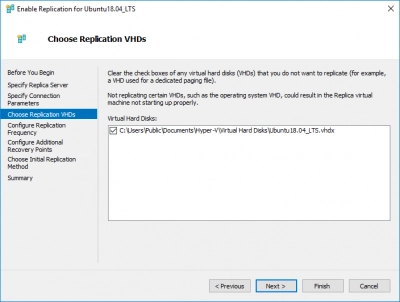
- Select the VHDx file.
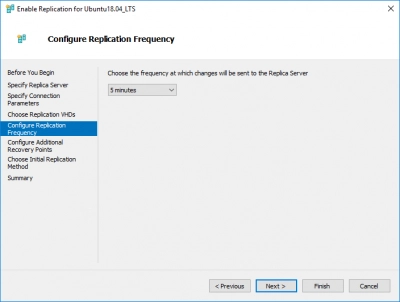
- Set the replication frequency; 5 minutes is the default frequency, however, you can set it to 7 minutes, 10 minutes, or higher.
- Choose if you want recovery points to be created always.
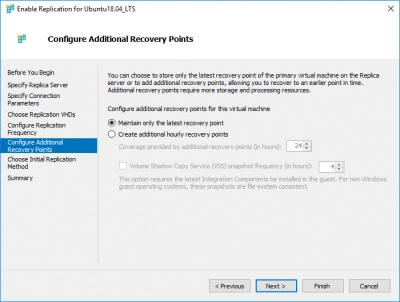
- Select how to send the initial copy: Network, External media, or VM.
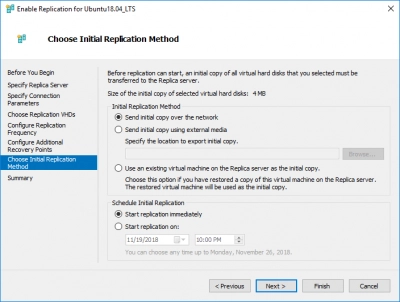
- Indicate when you want the replication to start and then click “Finish.”
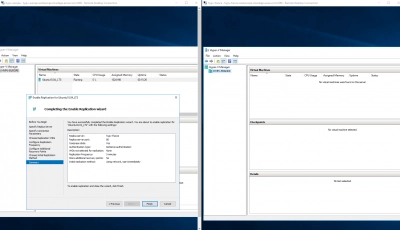
After you're done with Hyper-V Replica creation, depending on the size of the VM, it should appear on the secondary host, which shows that it is now replicated. To enable and initiate replication via PowerShell, use:
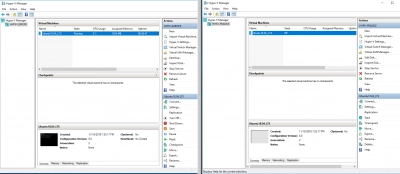
- PS > Enable-VMReplication
- PS > Start-VMInitialReplication
Hyper-V Replica Does Not Replace Backups!
Because you enabled Hyper-V Replica does not mean you won’t need to make backups any longer. Yes, Replica helps you to still access your files when there’s a minor crash or issue with the primary host. However, regular backups are important and remain valid.
With backups, you're rest assured that your files are saved from any possible damage; however, except the damage occurred on the secondary drive where the backup copy was saved - this rarely happens, anyways.
DiskInternals RAID Recovery is a software application that allows you to backup your data for free. It is an advanced solution - primarily a Data Recovery program capable of recovering lost data from virtual machines, local drives, and RAID arrays - with proven efficiency, attested by several IT experts.
DiskInternals RAID Recovery Solution
Here’s an all-inclusive RAID Recovery solution with a built-in "Wizard" to help novices and new users. This application can recover lost and deleted files from virtual machines and all kinds of RAIDs. DiskInternals RAID Recovery is regularly updated to integrate newer data recovery technologies and algorithms.
It supports various file systems, automatically figures out pool and filesystem parameters, including the disk order, and can recover previous versions of files (if available) - verify checksums to ascertain the file's integrity. You can use this data recovery app on all Windows PCs.
First Step:
Connect the hard drive where the files were lost - to a computer system via USB or any other supported means of connectivity.
Second Step:
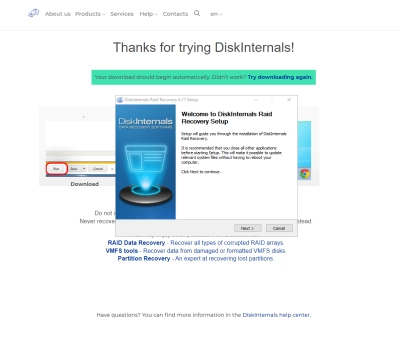
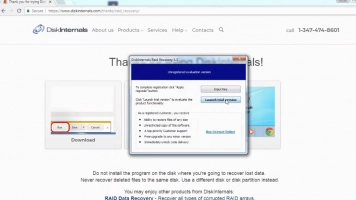
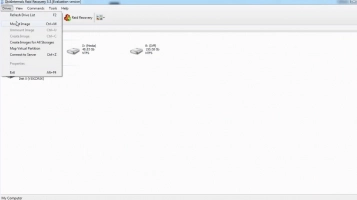
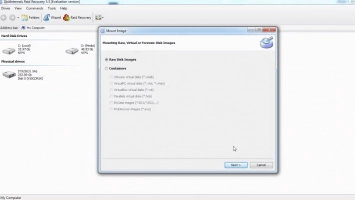
Boot the computer where the hard drive is connected and install DiskInternals RAID Recovery software. After the installation, launch the program and follow the Recovery Wizard prompts to recover your lost files from each of the connected drives, one after another.
Hyper-V Replica Recovery Tips
Consider these tips when attempting to recover files using DiskInternals RAID Recovery.
- Don’t rush the process - allow each step to run completely and successfully before proceeding to the next. Else, you may not recover all your lost files.
- Verify that you chose the exact disk drive that had the lost files you want to recover. If you select the wrong drive, you won’t get back any of the lost files.
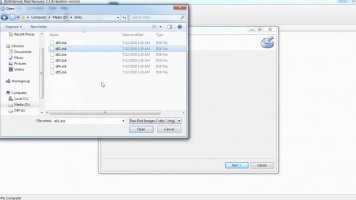
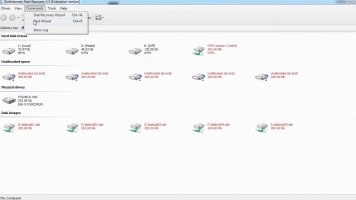
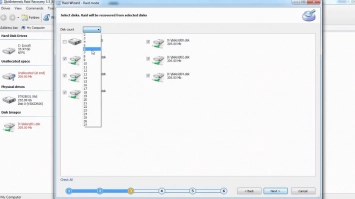
- DiskInternals RAID Recovery comes with a previewing engine, so you can preview the recovered files before saving them back to your local or remote storage.
Important Note: Ensure that you do not save the recovered files on the same drive where they were previously saved - from where they got lost.
Protect your data
When working with cloud platforms, you need to take care of the safety of virtual machine information. Use DiskInternals VMFS Recovery™ for this purpose. It is by far the most famous professional VMDK file recovery tool (both .vmdk files and -flat.vmdk files).
Here are the key features that differentiate VMFS Recovery™ from other software:
- Supports virtual machines including VMware, VirtualBox, Virtual PC and ProDiscover disk images, and also supports vSphere 6 and ESX / ESXi Server.
- Works with Windows 7 and above (however, it is still recommended to use Windows 10).
- The size of the software is 65 MB, which is not a lot, but you must have enough free space on your hard drive to recover data.
- The Recovery Wizard will help you to automatically recover data in a short period of time without any additional professional skills.
- You can mount virtual disks as local disks available in Windows Explorer for easy viewing of data.
- Support for file names and multi-level Unicode folders.
Use these detailed step-by-step instructions to recover a corrupted VMDK file with DiskInternals VMFS Recovery™.
Install VMFS Recovery™. Start recovery by activating the Recovery Wizard, or do everything manually.
First, if necessary, establish an SSH connection, and then you will be prompted to open your local drive (this could be SSH).
Then the scan of the selected disk will start, which may take some time; after completing this step, locate the required .vmdk files that you want to mount.
Then open the mounted .vmdk file by double-clicking the left mouse button and browse the available files to check their integrity.
At any time on the DiskInternals website, buy a license and complete the export of data to an alternative data source.

