How to fix the error: “The disk you inserted was not readable by this computer”
Here you will find out:
- when you may get the error message: “The disk you inserted was not readable by this computer”
- how to fix this error
- when DiskInternals can help you
Are you ready? Let's read!
When you get the error message: “The disk you inserted was not readable by this computer”
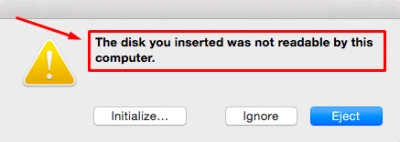
Any external connection to a computer (Mac or Windows) has to go through a port – usually, a USB port. However, there are other ways to connect a device to a computer. But if you connect a removable device and get the error, "The disk you inserted was not readable by this computer”, follow the tips in this article to fix the issue.
How to fix this error
Method 1: Check if the Mac is working
Try to identify where the problem is coming from. Connect another external device to the MacBook and see if it was detected. If detected, the problem was from your previous external device.
Method 2: Check disk encryption
One thing to check is for disk encryption, as an encrypted disk would not easily show on a Mac. Encryption changes the text files in a disk to ciphertexts, making them unreadable by most file systems unless you unlock/decrypt the disk. You will need to use BitLocker software to decrypt the drive before inserting it into your MacBook.
Method 3: Use Disk Utility
Repairing your MacBook's Disk Utility can help to solve this issue. This method has reportedly helped most Mac users that faced a "USB not readable on Mac” error.
- Click on “Launchpad” and type “disk”.
- Select “Disk Utility” from the search results and select the external disk showing the error.
- Click the First Aid button at the top area.
- Follow the instructions to repair your disk.
- Restart the Mac and check if the issue is now resolved.
Method 4: Check the drivers
Drivers are among the core components of any computer system. They can cause your computer to malfunction if they are misconfigured or outdated. Follow the steps below to update your MacBook drivers to fix this error.
- Select "System Preferences…" from the Apple menu, and click on "Software Update".
- Look out for the available updates for your MacBook and install them.
Method 5: Change the file system format to FAT32
When a disk has been previously used on a Windows computer, the disk's file system will typically be NTFS. Mac OS X doesn’t support NTFS, however, so you may need to reformat the disk’s file system to FAT32.
- Open Disk Utility on the MacBook and select the problematic drive.
- Click on the "Partition" button at the top area.
- Select the number of partitions you want on the disk after formatting it.
- Click “Format”, then “MS-DOS (FAT)”, then “Apply”.
- Now click on “Partition” to start formatting.
Note: Formatting the disk will erase all data saved. Thus, if there are important files on the drive, run a comprehensive data backup before formatting the disk.
How to open a disk (HFS, HFS+, APFS) in Windows
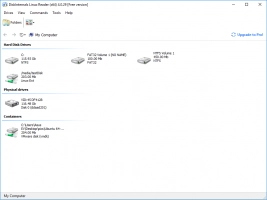
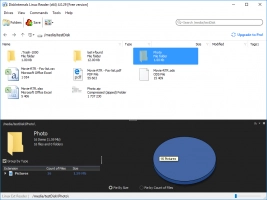
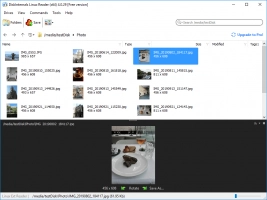
On the other hand, if you have a disk formatted as HFS, HFS+, or APFS, and you wish to access the disk content on a Windows computer, DiskInternals Linux Reader is a powerful utility that helps you to access such disks.
Normally, if you insert such disks into a Windows computer, it will prompt you to format the disk, because Windows does not support those file systems. However, formatting the disks will erase all the stored data. Hence, the best option is to use DiskInternals Linux Reader to open such disks.
DiskInternals Linux Reader works on virtual machines and dual-boot setups for accessing Linux partitions and files. It is an advanced Windows utility, featuring an intuitive interface and offering support for a wide range of file systems.

